ENDGAME | PIT PUSH | SPEED FARM BARBARE
Build Overview
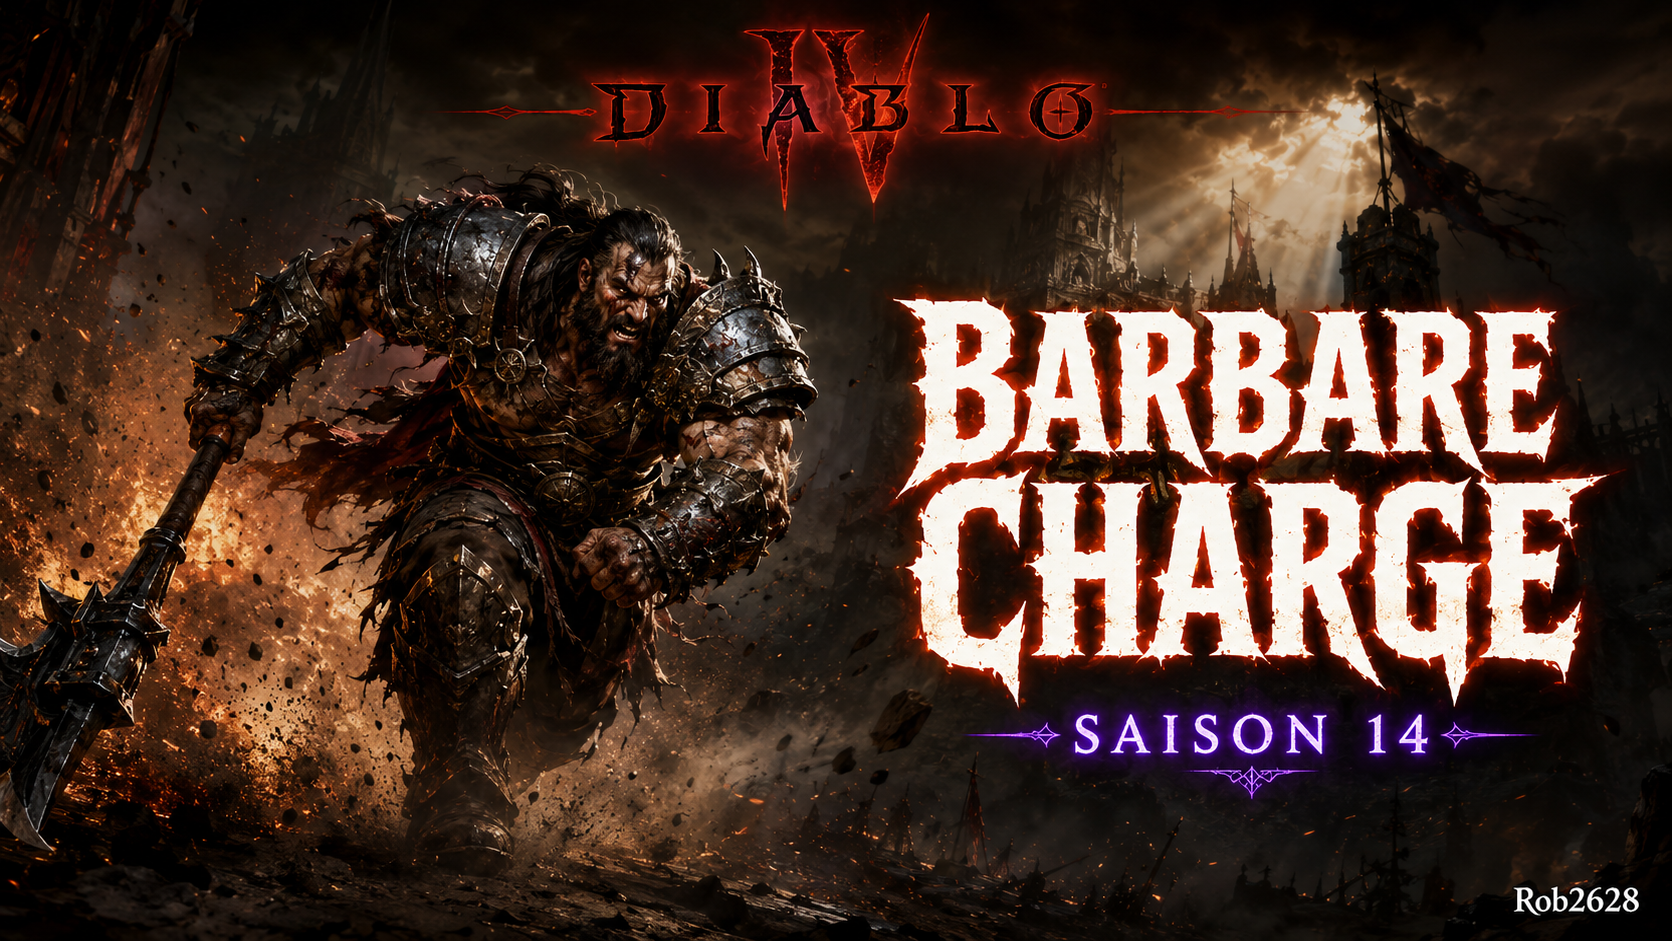
This Season 14 Barbarian build, crafted by @Rob2628, revolves around the ![]() Charge skill to impact and disorient groups of enemies, combined with
Charge skill to impact and disorient groups of enemies, combined with ![]() Rend to maintain devastating bleed effects over time. The archetype capitalizes on Vulnerability and damage over time multipliers to amplify every engagement, while
Rend to maintain devastating bleed effects over time. The archetype capitalizes on Vulnerability and damage over time multipliers to amplify every engagement, while ![]() Wrath of the Berserker serves as the ultimate skill to reach extreme damage spikes during critical phases. The Barbarian's survivability is ensured by a trio of shouts —
Wrath of the Berserker serves as the ultimate skill to reach extreme damage spikes during critical phases. The Barbarian's survivability is ensured by a trio of shouts — ![]() Rallying Cry,
Rallying Cry, ![]() Challenging Shout, and
Challenging Shout, and ![]() War Cry — which permanently provide fortification, resistance, and offensive power.
War Cry — which permanently provide fortification, resistance, and offensive power. ![]() Iron Skin completes the defensive toolkit for high-pressure situations. This build suits players looking for a brutal and dynamic playstyle, equally effective at clearing monster packs in the Pit as facing endgame Bosses.
Iron Skin completes the defensive toolkit for high-pressure situations. This build suits players looking for a brutal and dynamic playstyle, equally effective at clearing monster packs in the Pit as facing endgame Bosses.
Pros and Cons
✅ Pros
- Exceptional mobility:
 Charge is both a powerful offensive tool and a means of rapid repositioning on the battlefield
 - Very high damage over time thanks to
 Rend, amplified by Greater Affixes focused on Vulnerable damage multipliers
 - Solid toughness ensured by three shouts in permanent rotation and by
 Iron Skin
 - Versatile: equally effective in AoE against monster packs as in Boss combat
❌ Cons
- Demanding rotation: multiple shouts to maintain simultaneously while managing Fury
- Fury management made more complex by the continuous drain imposed by the Horadric Seal
- Less optimal if Charge doesn't reach its targets or if engagements lack consistency
Recommended Equipment
Loot Table
This build relies on three key unique items: the ![]() Tuskhelm of Joritz the Mighty in the helmet slot,
Tuskhelm of Joritz the Mighty in the helmet slot, ![]() Chainscourged Mail in the pants slot, and the
Chainscourged Mail in the pants slot, and the ![]() Ring of the Ravenous in the first ring slot. The legendary slots each carry a targeted aspect:
Ring of the Ravenous in the first ring slot. The legendary slots each carry a targeted aspect: ![]() Aspect of Heavenly Strength on the chest,
Aspect of Heavenly Strength on the chest, ![]() Edgemaster's Aspect on the gloves,
Edgemaster's Aspect on the gloves, ![]() Aspect of Anger Management on the boots,
Aspect of Anger Management on the boots, ![]() Wanton Rupture Aspect on the amulet, and
Wanton Rupture Aspect on the amulet, and ![]() Aspect of Limitless Rage on the second ring. For affixes, the priority Greater Affixes to look for are Damage over Time multiplier, Vulnerable damage multiplier, Strength, and Maximum Resource — the four pillars of this Barbarian's offensive optimization.
Aspect of Limitless Rage on the second ring. For affixes, the priority Greater Affixes to look for are Damage over Time multiplier, Vulnerable damage multiplier, Strength, and Maximum Resource — the four pillars of this Barbarian's offensive optimization.
Horadric Seal S14
The Horadric Seal of this Charge Barbarian is built around the Berserker's Crucible set, consisting of five charms (Fer, Linta, Beru, Mlor, and Phoba of the Crucible), complemented by the unique charm ![]() Ramaladni's Magnum Opus. This unique charm grants skills increased damage proportional to accumulated Fury, but in return, this resource continuously drains over time. The seal itself grants an additional unique charm slot, bringing the total to six active slots. This combination makes maintaining a high Fury level an absolute gameplay priority, especially when using
Ramaladni's Magnum Opus. This unique charm grants skills increased damage proportional to accumulated Fury, but in return, this resource continuously drains over time. The seal itself grants an additional unique charm slot, bringing the total to six active slots. This combination makes maintaining a high Fury level an absolute gameplay priority, especially when using ![]() Wrath of the Berserker and the shouts.
Wrath of the Berserker and the shouts.
Gameplay Tips
To maximize the build's efficiency, keep the three shouts active at all times: ![]() Rallying Cry,
Rallying Cry, ![]() Challenging Shout, and
Challenging Shout, and ![]() War Cry form the foundation of your toughness and offensive power. Use
War Cry form the foundation of your toughness and offensive power. Use ![]() Charge to reposition and impact groups of enemies, then follow up with
Charge to reposition and impact groups of enemies, then follow up with ![]() Rend to stack bleed effects on Vulnerable targets. Trigger
Rend to stack bleed effects on Vulnerable targets. Trigger ![]() Wrath of the Berserker during Boss phases or against the most resilient elites to push your damage to its maximum. Activate
Wrath of the Berserker during Boss phases or against the most resilient elites to push your damage to its maximum. Activate ![]() Iron Skin under heavy pressure to bolster your survivability. Constantly monitor your Fury gauge: the continuous drain from
Iron Skin under heavy pressure to bolster your survivability. Constantly monitor your Fury gauge: the continuous drain from ![]() Ramaladni's Magnum Opus can reduce your damage bonuses if your reserve drops too low.
Ramaladni's Magnum Opus can reduce your damage bonuses if your reserve drops too low.
Talent Tree
The talent tree of this Charge Barbarian invests heavily in its two central offensive skills: ![]() Charge and
Charge and ![]() Rend both reach the maximum rank of 15, optimizing both impact damage and prolonged bleed effects.
Rend both reach the maximum rank of 15, optimizing both impact damage and prolonged bleed effects. ![]() Wrath of the Berserker is also brought to rank 15, ensuring long-duration Berserking phases for decisive moments. The shouts —
Wrath of the Berserker is also brought to rank 15, ensuring long-duration Berserking phases for decisive moments. The shouts — ![]() Rallying Cry,
Rallying Cry, ![]() Challenging Shout, and
Challenging Shout, and ![]() War Cry — are invested at high ranks to maximize their sustain and amplification effects.
War Cry — are invested at high ranks to maximize their sustain and amplification effects. ![]() Iron Skin completes the defensive toolkit at a sufficient rank for its toughness benefits.
Iron Skin completes the defensive toolkit at a sufficient rank for its toughness benefits.
Mercenary S14
Subo is the main mercenary of this build. A specialist in ranged support, he combines ![]() Wire Trap to neutralize and immobilize enemies with
Wire Trap to neutralize and immobilize enemies with ![]() Cover Fire to deal additional damage from the rear lines. This support is particularly valuable for securing the Barbarian's melee engagements and reducing pressure during Boss encounters.
Cover Fire to deal additional damage from the rear lines. This support is particularly valuable for securing the Barbarian's melee engagements and reducing pressure during Boss encounters.
Varyana is brought in as reinforcement to provide additional offensive support in the most intense combat situations, thereby enhancing the build's overall effectiveness.
Paragon
The Paragon system of this Charge Barbarian is organized around five boards, each featuring a glyph brought to rank 100: the ![]() Brawl glyph on the starting board, Exploit on the Warbringer board,
Brawl glyph on the starting board, Exploit on the Warbringer board, ![]() Executioner on Blood Rage,
Executioner on Blood Rage, ![]() Challenger on Carnage, and
Challenger on Carnage, and ![]() Disembowel on Hemorrhage. This glyph selection is designed to reinforce the build's offensive profile in endgame, in line with the effects of
Disembowel on Hemorrhage. This glyph selection is designed to reinforce the build's offensive profile in endgame, in line with the effects of ![]() Charge and
Charge and ![]() Rend. The passive nodes allocated on each board maximize the bonuses in synergy with the damage over time and Vulnerability mechanics central to this build.
Rend. The passive nodes allocated on each board maximize the bonuses in synergy with the damage over time and Vulnerability mechanics central to this build.
📖 Retrouvez tous les builds Diablo 4 Saison 12 : Voir tous les builds D4 →


0 Commentaires
Aucun commentaire pour le moment. Soyez le premier à commenter !