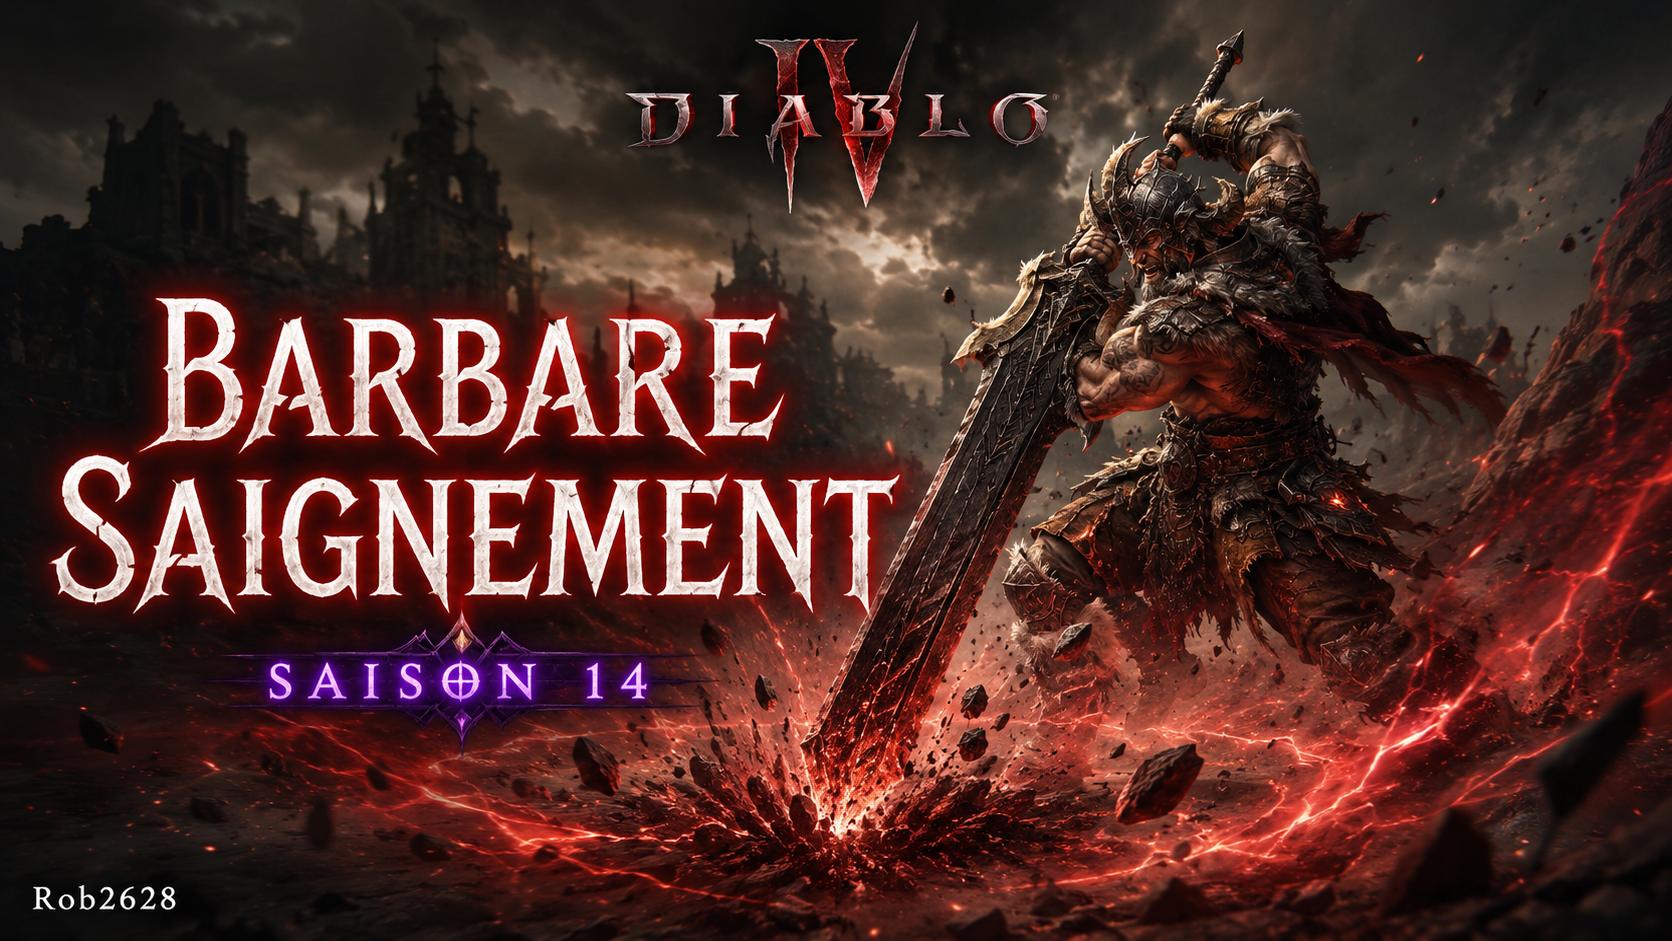
ENDGAME | PIT PUSH | SPEED FARM BARBARE
Build Overview
This build, crafted by @Rob2628, places the Barbarian at the heart of a particularly devastating bleed archetype in Season 14, built around ![]() Rend and
Rend and ![]() Leap. The
Leap. The ![]() Rend skill applies powerful area bleed effects to nearby enemies, while
Rend skill applies powerful area bleed effects to nearby enemies, while ![]() Leap provides fast movement, Fury generation and aggressive melee positioning. The build's weapon of choice is the mythic
Leap provides fast movement, Fury generation and aggressive melee positioning. The build's weapon of choice is the mythic ![]() Shattered Vow, complemented by the unique helm
Shattered Vow, complemented by the unique helm ![]() Tuskhelm of Joritz the Mighty and the unique legs
Tuskhelm of Joritz the Mighty and the unique legs ![]() Chainscourged Mail to shore up combat resilience. The
Chainscourged Mail to shore up combat resilience. The ![]() Ring of the Ravenous amplifies damage over time, while a full arsenal of war cries keeps offensive and defensive buffs up permanently. The build offers two orientations: Full Blood to maximize pure bleed damage, and Berserking + 2-piece Blood for a more immediate power spike. This guide is aimed at players who want a resilient and fearsome Barbarian for endgame content, The Pit included.
Ring of the Ravenous amplifies damage over time, while a full arsenal of war cries keeps offensive and defensive buffs up permanently. The build offers two orientations: Full Blood to maximize pure bleed damage, and Berserking + 2-piece Blood for a more immediate power spike. This guide is aimed at players who want a resilient and fearsome Barbarian for endgame content, The Pit included.
Pros and Cons
Pros
- Very high damage over time (bleed) on grouped enemies
- Excellent mobility and repositioning thanks to
 Leap
Leap - Solid resilience via defensive shouts (
 Iron Skin,
  Challenging Shout)
 - Two clearly defined variants for a smooth progression from leveling to endgame
- Strong synergy between
 Wrath of the Berserker and Vulnerable damage multipliers
Cons
- Reliant on the mythic
 Shattered Vow to reach its full endgame potential
 - Ramp-up required: bleed damage takes a few seconds to build up
- Active management of several war cries to chain in order to keep buffs running
Recommended Gear
Loot Table
The unique helm ![]() Tuskhelm of Joritz the Mighty, socketed with the Moni and Mot runes, is a central piece of the build, carrying Greater Affixes Strength and Cooldown Reduction. The unique legs
Tuskhelm of Joritz the Mighty, socketed with the Moni and Mot runes, is a central piece of the build, carrying Greater Affixes Strength and Cooldown Reduction. The unique legs ![]() Chainscourged Mail, with Greater Affixes Strength and Maximum Life, offer considerable sturdiness against Pit Bosses. On the weapons, the mythic
Chainscourged Mail, with Greater Affixes Strength and Maximum Life, offer considerable sturdiness against Pit Bosses. On the weapons, the mythic ![]() Shattered Vow is the main endgame goal, while the
Shattered Vow is the main endgame goal, while the ![]() Ring of the Ravenous directly amplifies damage over time and Vulnerable damage multipliers. On the aspect side, the chest carries the
Ring of the Ravenous directly amplifies damage over time and Vulnerable damage multipliers. On the aspect side, the chest carries the ![]() Aspect of Heavenly Strength for Fury and resistance, the gloves get the
Aspect of Heavenly Strength for Fury and resistance, the gloves get the ![]() Skullbreaker's Aspect to strengthen
Skullbreaker's Aspect to strengthen ![]() Rend's Greater Affixes, and the amulet combines the
Rend's Greater Affixes, and the amulet combines the ![]() Wanton Rupture Aspect with Vulnerable and damage over time multipliers. The boots carry the
Wanton Rupture Aspect with Vulnerable and damage over time multipliers. The boots carry the ![]() Aspect of Anger Management to reduce Evade cooldowns, while the second ring runs the
Aspect of Anger Management to reduce Evade cooldowns, while the second ring runs the ![]() Aspect of Limitless Rage. The Writhing Aspect and Crushing Aspect round out the gear on the remaining slots.
Aspect of Limitless Rage. The Writhing Aspect and Crushing Aspect round out the gear on the remaining slots.
Horadric Seal S14
The Season 14 Horadric Seal lets the Barbarian further customize their power profile through the charm sets offered by the system. For this bleed-oriented build, charm sets targeting damage over time multipliers and Fury generation are especially welcome. The grid below shows the charm slots selected in @Rob2628's endgame configuration to maximize synergy with ![]() Rend and
Rend and ![]() Wrath of the Berserker.
Wrath of the Berserker.
Gameplay Tips
This build's basic rotation relies on a simple but precise sequence: activate your war cries at the very start of an engagement (![]() Rallying Cry,
Rallying Cry, ![]() Challenging Shout,
Challenging Shout, ![]() War Cry) to secure your offensive and defensive buffs, then use
War Cry) to secure your offensive and defensive buffs, then use ![]() Leap to dive into the enemy pack and generate Fury. Follow up with
Leap to dive into the enemy pack and generate Fury. Follow up with ![]() Rend to apply bleed to all nearby enemies, and trigger
Rend to apply bleed to all nearby enemies, and trigger ![]() Wrath of the Berserker as soon as your ultimate is available to multiply your burst damage. In combat, watch your Fury:
Wrath of the Berserker as soon as your ultimate is available to multiply your burst damage. In combat, watch your Fury: ![]() Rallying Cry and
Rallying Cry and ![]() Leap generate it, letting you keep
Leap generate it, letting you keep ![]() Rend active continuously. For defense,
Rend active continuously. For defense, ![]() Iron Skin should be used in reaction to heavy damage phases, especially during Boss attacks, since its Juggernaut upgrade strengthens your damage reduction. In the Full Blood variant,
Iron Skin should be used in reaction to heavy damage phases, especially during Boss attacks, since its Juggernaut upgrade strengthens your damage reduction. In the Full Blood variant, ![]() Rupture can be triggered on already-bleeding enemies for extra burst damage along with a blood pool.
Rupture can be triggered on already-bleeding enemies for extra burst damage along with a blood pool.
Talent Tree
This Bleed Barbarian's talent tree invests heavily in ![]() Rend (rank 15) to maximize the intensity and duration of the applied bleed.
Rend (rank 15) to maximize the intensity and duration of the applied bleed. ![]() Challenging Shout is also pushed to max rank 15 for its contribution to damage and buff duration, alongside
Challenging Shout is also pushed to max rank 15 for its contribution to damage and buff duration, alongside ![]() Wrath of the Berserker at rank 15 for the power ultimate.
Wrath of the Berserker at rank 15 for the power ultimate. ![]() War Cry (rank 10) is optimized with the Booming Voice and Ferocity upgrades to amplify enemy vulnerability, creating a direct synergy with the Vulnerable damage multipliers found on the items.
War Cry (rank 10) is optimized with the Booming Voice and Ferocity upgrades to amplify enemy vulnerability, creating a direct synergy with the Vulnerable damage multipliers found on the items. ![]() Leap is kept at rank 1 since a single allocation is enough to enable its Fury generation and melee upgrades, without wasting points on base scaling. The Cut to the Bone passive contributes to the overall amplification of damage against bleeding enemies, consolidating the effectiveness of every
Leap is kept at rank 1 since a single allocation is enough to enable its Fury generation and melee upgrades, without wasting points on base scaling. The Cut to the Bone passive contributes to the overall amplification of damage against bleeding enemies, consolidating the effectiveness of every ![]() Rend hit.
Rend hit.
Mercenary S14
Subo is the main mercenary of this build, chosen for his ability to apply explosive AoE damage to support the Barbarian's damage over time. His ![]() Molotov skill stuns enemies and triggers area effects, while the
Molotov skill stuns enemies and triggers area effects, while the ![]() Explosive Charge sticks charges onto targets that explode on a delay, stacking with the active bleed from
Explosive Charge sticks charges onto targets that explode on a delay, stacking with the active bleed from ![]() Rend.
Rend.
Raheir is set up as reinforcement, bringing ![]() Bastion to absorb incoming damage during critical phases. His presence is especially useful in high Pit tiers where survivability is pushed to the limit, complementing
Bastion to absorb incoming damage during critical phases. His presence is especially useful in high Pit tiers where survivability is pushed to the limit, complementing ![]() Iron Skin and
Iron Skin and ![]() Challenging Shout.
Challenging Shout.
Paragon and Glyphs
This Bleed Barbarian's Paragon spreads across five boards: Start, Carnage, Blood Rage, Warbringer and Hemorrhage, each targeting specific nodes to strengthen bleed damage and overall resilience. The ![]() Executioner glyph (Start board, rank 100) amplifies damage dealt to low-health enemies, perfect for finishing off targets weakened by bleed. On the Carnage board, the Exploit glyph (rank 100) favors damage against Vulnerable enemies, in direct synergy with
Executioner glyph (Start board, rank 100) amplifies damage dealt to low-health enemies, perfect for finishing off targets weakened by bleed. On the Carnage board, the Exploit glyph (rank 100) favors damage against Vulnerable enemies, in direct synergy with ![]() War Cry. The
War Cry. The ![]() Challenger glyph (Blood Rage board, rank 100) and
Challenger glyph (Blood Rage board, rank 100) and ![]() Bloodfeeder (Warbringer board, rank 100) complete the offensive loop, while
Bloodfeeder (Warbringer board, rank 100) complete the offensive loop, while ![]() Disembowel (Hemorrhage board, rank 100) specifically targets bleeding enemies to maximize damage over time. All glyphs are invested at rank 100, which is the endgame optimization recommended by @Rob2628.
Disembowel (Hemorrhage board, rank 100) specifically targets bleeding enemies to maximize damage over time. All glyphs are invested at rank 100, which is the endgame optimization recommended by @Rob2628.
📖 Retrouvez tous les builds Diablo 4 Saison 12 : Voir tous les builds D4 →


0 Commentaires
Aucun commentaire pour le moment. Soyez le premier à commenter !