ENDGAME | PIT PUSH | SPEED FARM NECROMANCIEN
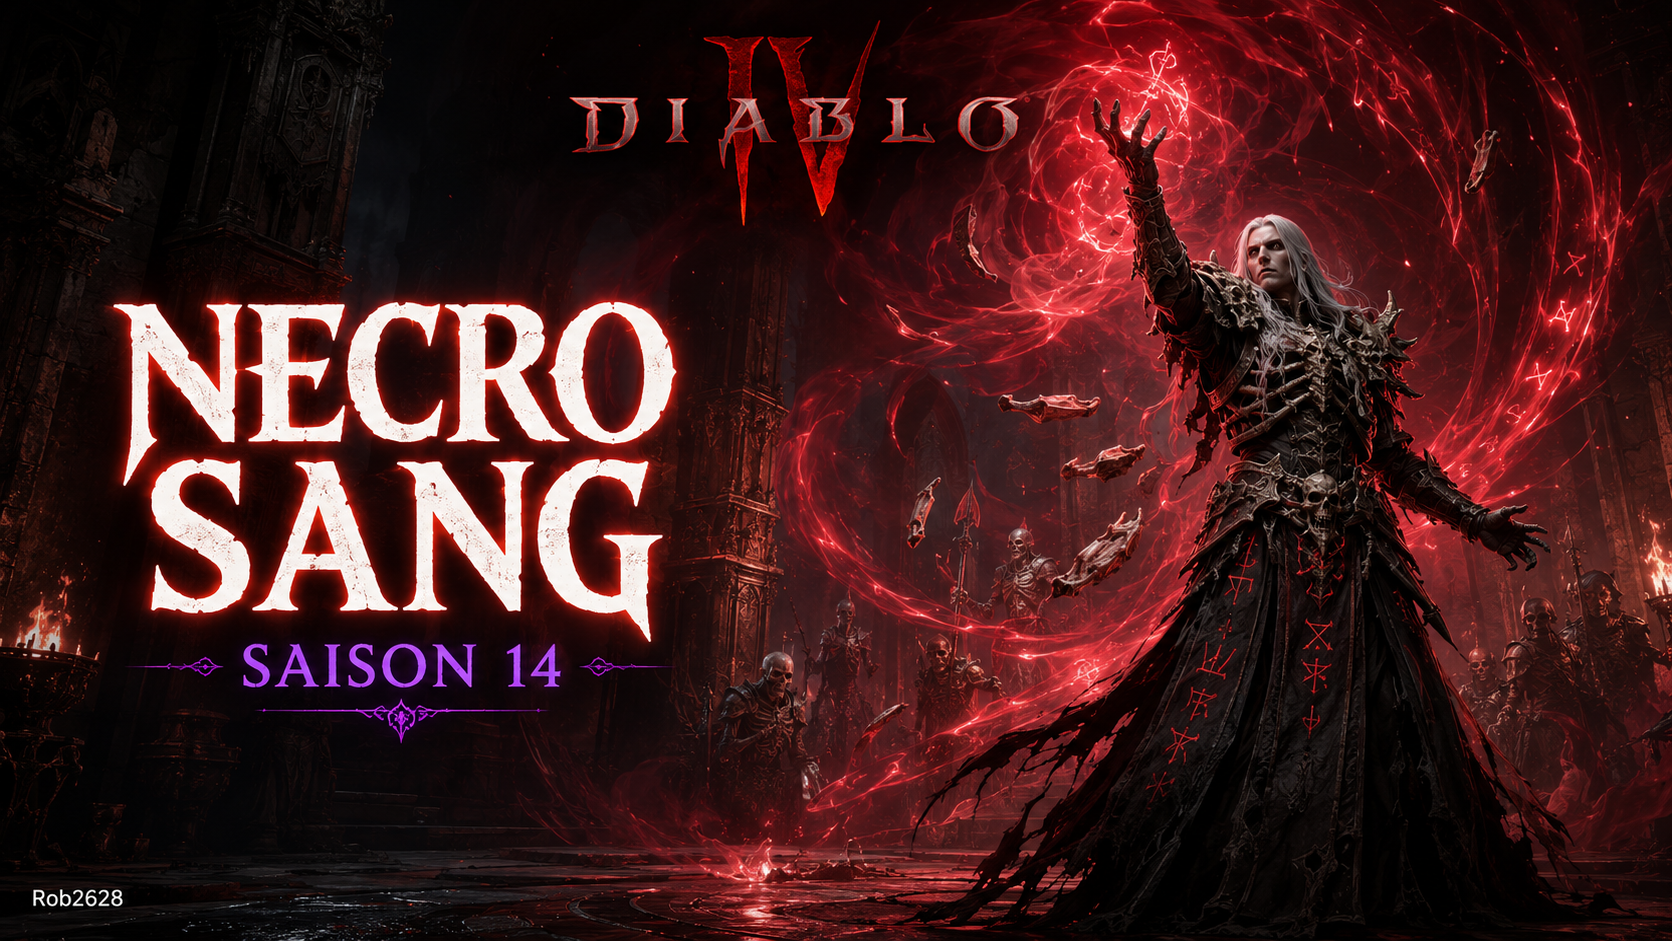
Necromancer Blood Wave Build Overview
This Necromancer ![]() Blood Wave Overpower build, crafted by Rob2628, is one of the most formidable endgame options of Season 14: it revolves around the blood and Overpower archetype, with
Blood Wave Overpower build, crafted by Rob2628, is one of the most formidable endgame options of Season 14: it revolves around the blood and Overpower archetype, with ![]() Blood Wave as the primary skill at maximum rank (15/15). The gameplay fantasy is clear — overwhelming enemies with a tide of blood that amplifies devastating Overpower strikes, supported by a solid crowd control arsenal that immobilizes and weakens targets before each decisive strike. Thanks to the unique pieces
Blood Wave as the primary skill at maximum rank (15/15). The gameplay fantasy is clear — overwhelming enemies with a tide of blood that amplifies devastating Overpower strikes, supported by a solid crowd control arsenal that immobilizes and weakens targets before each decisive strike. Thanks to the unique pieces ![]() Kessime's Legacy and
Kessime's Legacy and ![]() Banished Lord's Talisman, the build has a solid foundation in its Standard version, with an additional power spike accessible by incorporating the mythic items
Banished Lord's Talisman, the build has a solid foundation in its Standard version, with an additional power spike accessible by incorporating the mythic items ![]() Heir of Perdition and
Heir of Perdition and ![]() Ring of Starless Skies in the alternative variant. This build is primarily aimed at endgame players seeking top performance in high-level Pit runs, capable of holding its own against the most demanding Bosses of Season 14.
Ring of Starless Skies in the alternative variant. This build is primarily aimed at endgame players seeking top performance in high-level Pit runs, capable of holding its own against the most demanding Bosses of Season 14.
Pros and Cons
✅ Pros
- Excellent AoE DPS thanks to
 Blood Wave at maximum rank, devastatingly effective at clearing dense packs.
 - Powerful Overpower mechanic, amplified by the unique charm Red Blessing and the Horadric Seal set entirely dedicated to blood.
- Good crowd control:
 Corpse Tendrils and
  Bone Prison allow you to group and immobilize enemies before each main strike.
 - Two clearly defined variants (Standard and Mythic) offering a natural progression from accessibility up to mythic item tier.
- Strong synergy between the debuffs from
 Decrepify,
  Iron Maiden and Overpower generation via
  Blood Lance.
❌ Cons
- The "Healthy" condition of the Red Blessing charm requires maintaining high Life at all times, leaving little room for positioning errors.
- Precise gameplay timing required: grouping enemies via Corpse Tendrils and Bone Prison before triggering Blood Wave is essential to maximize impact.
- Reliance on specific unique pieces (
 Kessime's Legacy,
  Banished Lord's Talisman) to reach full endgame potential.
 - The mythic variant with
 Heir of Perdition and
  Ring of Starless Skies is significantly harder to assemble and reserved for well-invested players.
Recommended Gear
Loot Table
The core of the equipment relies on two essential unique pieces. The ![]() Kessime's Legacy pants are the cornerstone of the Standard version, amplifying blood skills, while the
Kessime's Legacy pants are the cornerstone of the Standard version, amplifying blood skills, while the ![]() Banished Lord's Talisman amulet — bearing a Greater Affix on vulnerable damage — directly reinforces Overpower windows. On the aspects side, the
Banished Lord's Talisman amulet — bearing a Greater Affix on vulnerable damage — directly reinforces Overpower windows. On the aspects side, the ![]() Aspect of Heavenly Strength (chest) and the
Aspect of Heavenly Strength (chest) and the ![]() Aspect of Hardened Bones (helmet) ensure the balance between offensive performance and resilience. The
Aspect of Hardened Bones (helmet) ensure the balance between offensive performance and resilience. The ![]() Tidal Aspect (boots) and the Crushing Aspect (ring) reinforce the overall damage profile, complemented by the Tides of Blood Aspect, the Aspect of Coalesced Blood and the Aspect of Thickened Blood on the remaining slots.
Tidal Aspect (boots) and the Crushing Aspect (ring) reinforce the overall damage profile, complemented by the Tides of Blood Aspect, the Aspect of Coalesced Blood and the Aspect of Thickened Blood on the remaining slots.
For players with mythic items, the alternative variant replaces the helmet with ![]() Heir of Perdition and the second ring with
Heir of Perdition and the second ring with ![]() Ring of Starless Skies, unlocking an additional power tier that significantly raises the build's ceiling.
Ring of Starless Skies, unlocking an additional power tier that significantly raises the build's ceiling.
Horadric Seal S14
The Horadric Seal of this build relies on the Word of the Blood Binder set, which occupies five of the six charm slots with its pieces dedicated to blood skills. The sixth slot houses the unique charm Red Blessing: when you are Healthy, it generates Overpower stacks by picking up Blood Orbs and directly amplifies ![]() Blood Wave damage per accumulated stack. The seal itself, of Legendary quality, grants an additional charm slot to bring the configuration to six active slots (6/6), maximizing set coverage while maintaining the permanent effect of Red Blessing.
Blood Wave damage per accumulated stack. The seal itself, of Legendary quality, grants an additional charm slot to bring the configuration to six active slots (6/6), maximizing set coverage while maintaining the permanent effect of Red Blessing.
Gameplay Tips
The basic rotation starts each pack by applying ![]() Decrepify to weaken and slow enemies, then using
Decrepify to weaken and slow enemies, then using ![]() Corpse Tendrils to group them and
Corpse Tendrils to group them and ![]() Bone Prison to immobilize them. Once enemies are in position, trigger
Bone Prison to immobilize them. Once enemies are in position, trigger ![]() Blood Wave to deal your Overpower damage, amplified by the stacks accumulated via Red Blessing. Keep
Blood Wave to deal your Overpower damage, amplified by the stacks accumulated via Red Blessing. Keep ![]() Iron Maiden active on Bosses to amplify damage taken, and incorporate
Iron Maiden active on Bosses to amplify damage taken, and incorporate ![]() Blood Lance into the rotation to continuously fuel the Overpower mechanic.
Blood Lance into the rotation to continuously fuel the Overpower mechanic.
Managing your Life level is central: the "Healthy" condition required by Red Blessing means you cannot stay at low Life during combat. Use ![]() Sever to generate corpses that fuel your class synergies via the Book of the Dead. During long Pit sessions, the combination of
Sever to generate corpses that fuel your class synergies via the Book of the Dead. During long Pit sessions, the combination of ![]() Decrepify as a permanent debuff and
Decrepify as a permanent debuff and ![]() Blood Wave's Overpower stacks makes the difference against the most resilient elite packs.
Blood Wave's Overpower stacks makes the difference against the most resilient elite packs.
Necromancer Blood Wave Skill Tree
The Necromancer ![]() Blood Wave Skill Tree is built around the core skill
Blood Wave Skill Tree is built around the core skill ![]() Blood Wave (15/15), equipped with the Haematolagnia and Overpower upgrades to maximize synergy with the blood archetype.
Blood Wave (15/15), equipped with the Haematolagnia and Overpower upgrades to maximize synergy with the blood archetype. ![]() Blood Lance (14/15) serves as the primary Overpower generator, supported by the Bloodied Spikes and Overpower upgrades. Crowd control relies on
Blood Lance (14/15) serves as the primary Overpower generator, supported by the Bloodied Spikes and Overpower upgrades. Crowd control relies on ![]() Corpse Tendrils and
Corpse Tendrils and ![]() Bone Prison (the latter at maximum rank 15/15), while
Bone Prison (the latter at maximum rank 15/15), while ![]() Decrepify (15/15) and
Decrepify (15/15) and ![]() Iron Maiden provide permanent debuffing and amplify damage taken. Finally,
Iron Maiden provide permanent debuffing and amplify damage taken. Finally, ![]() Sever at its minimum rank ensures the corpse generation needed for Book of the Dead synergies.
Sever at its minimum rank ensures the corpse generation needed for Book of the Dead synergies.
Mercenary S14
The primary mercenary chosen for this build is Subo, the bounty hunter, whose signature skills ![]() Wire Trap and
Wire Trap and ![]() Cover Fire naturally integrate into the build's crowd control strategy. His
Cover Fire naturally integrate into the build's crowd control strategy. His ![]() Cover Fire passive opens an additional critical damage window on enemies slowed by Subo, a direct advantage on dense packs handled by
Cover Fire passive opens an additional critical damage window on enemies slowed by Subo, a direct advantage on dense packs handled by ![]() Blood Wave.
Blood Wave.
As backup, Varyana intervenes with her ![]() Bloodthirst skill, which naturally complements the build's blood theme and provides additional offensive support during the most intense phases. This Subo main / Varyana backup combination is the choice made by Rob2628 for both build variants.
Bloodthirst skill, which naturally complements the build's blood theme and provides additional offensive support during the most intense phases. This Subo main / Varyana backup combination is the choice made by Rob2628 for both build variants.
Paragon and Glyphs
The Paragon system of this Necromancer ![]() Blood Wave build revolves around five specialized boards, all their glyphs at maximum rank (100/100). The starting board features the
Blood Wave build revolves around five specialized boards, all their glyphs at maximum rank (100/100). The starting board features the ![]() Amplify glyph to increase overall offensive potential. The Bloodbath board integrates
Amplify glyph to increase overall offensive potential. The Bloodbath board integrates ![]() Gravekeeper, in perfect coherence with the build's necromancer theme. The Scent of Death board carries
Gravekeeper, in perfect coherence with the build's necromancer theme. The Scent of Death board carries ![]() Eliminator to reinforce pressure on enemy groups, the Blood Begets Blood board optimizes the blood mechanic with
Eliminator to reinforce pressure on enemy groups, the Blood Begets Blood board optimizes the blood mechanic with ![]() Essence, and the Frailty board concludes with
Essence, and the Frailty board concludes with ![]() Corporeal to solidify the defensive profile and maintain the "Healthy" condition essential to Red Blessing.
Corporeal to solidify the defensive profile and maintain the "Healthy" condition essential to Red Blessing.
📖 Retrouvez tous les builds Diablo 4 Saison 12 : Voir tous les builds D4 →


0 Commentaires
Aucun commentaire pour le moment. Soyez le premier à commenter !