LEVELING | ENDGAME | PIT PUSH | SPEED FARM VOLEUR
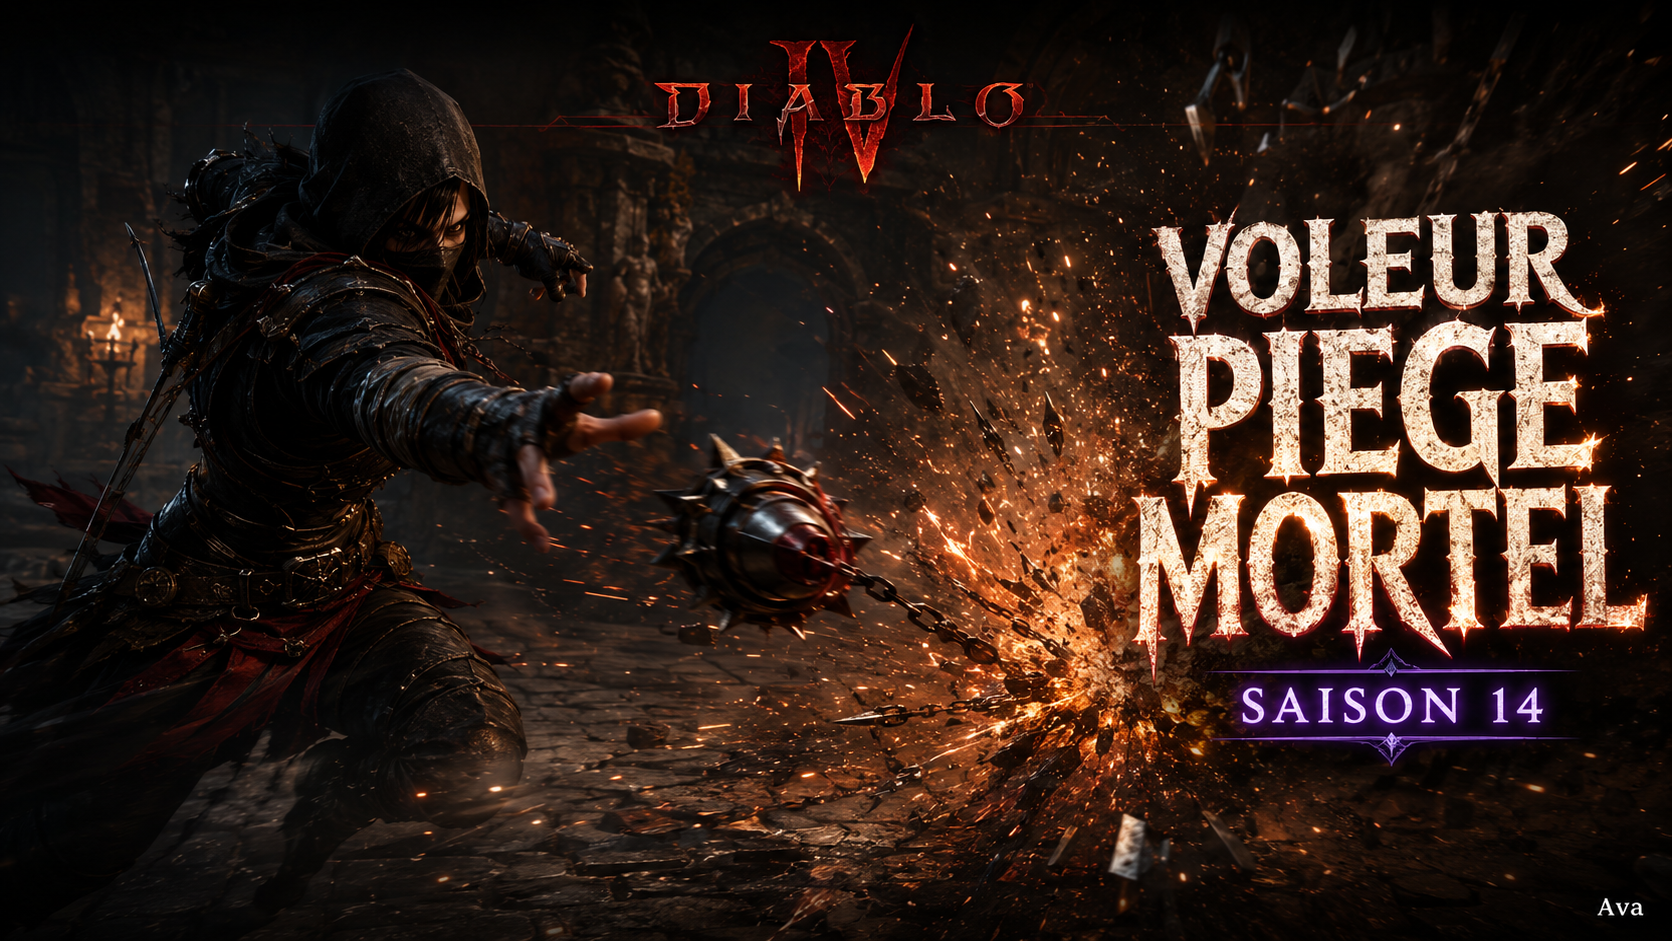
Death Trap Build Overview
This Rogue ![]() Death Trap build, created by Ava (Avarilyn), is not for the faint of heart. Gearing up for this fast-paced and fan-favorite archetype takes serious effort, but it's well worth it for those who love this explosive playstyle. The idea is simple on paper: drop as many
Death Trap build, created by Ava (Avarilyn), is not for the faint of heart. Gearing up for this fast-paced and fan-favorite archetype takes serious effort, but it's well worth it for those who love this explosive playstyle. The idea is simple on paper: drop as many ![]() Death Trap as possible on the ground to trigger chain explosions, while enjoying unmatched mobility thanks to
Death Trap as possible on the ground to trigger chain explosions, while enjoying unmatched mobility thanks to ![]() Shadow Step on a very low cooldown to zoom across the map.
Shadow Step on a very low cooldown to zoom across the map.
To unlock this endgame build's full potential, you need to hit all the key breakpoints: cooldown reduction, skill ranks, and maximum resource. Mythic items aren't mandatory here — the build remains perfectly playable without them if you're less lucky with loot.
Pros and Cons
Pros
- Unmatched mobility thanks to
 Shadow Step on a low cooldown
 - Explosive AoE damage through
 Death Trap chain explosions
 - Excellent Pit clear speed and fast farming thanks to the mobility
- Playable even without Mythic items if loot is scarce
- Survivability boosted by
 Dark Shroud and
  Concealment
Cons
- Demanding gearing: you need to hit all the breakpoints (cooldown, ranks, resource)
- Requires the full Horadric Seal charm set to unlock its full potential
- Technical rotation around trap placement and burst windows
- Investment in high-quality runes and gems needed to hit breakpoints
Recommended Gear
Loot Table
The unique chest ![]() Scoundrel's Leathers provides the maximum resource needed to spam traps without interruption, while the unique weapon Misericorde boosts your critical strike damage multiplier as you progress. For the legs,
Scoundrel's Leathers provides the maximum resource needed to spam traps without interruption, while the unique weapon Misericorde boosts your critical strike damage multiplier as you progress. For the legs, ![]() Eyes in the Dark offers a large Dexterity bonus, complemented by
Eyes in the Dark offers a large Dexterity bonus, complemented by ![]() Beastfall Boots which add mobility and extra Dexterity. The unique ring
Beastfall Boots which add mobility and extra Dexterity. The unique ring ![]() Saboteur's Signet then maximizes damage against Vulnerable enemies, a core mechanic of this build.
Saboteur's Signet then maximizes damage against Vulnerable enemies, a core mechanic of this build.
On the legendary side, the helm with the ![]() Runic Skullcap aspect and the gloves with the
Runic Skullcap aspect and the gloves with the ![]() Runic Gloves aspect are built to stack cooldown reduction (up to +16% each), an essential breakpoint to keep up the pace of
Runic Gloves aspect are built to stack cooldown reduction (up to +16% each), an essential breakpoint to keep up the pace of ![]() Death Trap and
Death Trap and ![]() Shadow Step. The amulet carries the
Shadow Step. The amulet carries the ![]() Aspect of Inner Calm to boost damage against Vulnerable enemies, while the second ring uses the Aspect of Aftermath. In the offhand, the
Aspect of Inner Calm to boost damage against Vulnerable enemies, while the second ring uses the Aspect of Aftermath. In the offhand, the ![]() Obsidian Blade base rounds out the arsenal. When pushing further (Push variant), the helm can switch to the Aspect of Debilitating Toxins and the amulet to the
Obsidian Blade base rounds out the arsenal. When pushing further (Push variant), the helm can switch to the Aspect of Debilitating Toxins and the amulet to the ![]() Aspect of Disobedience for even more damage against Vulnerable targets.
Aspect of Disobedience for even more damage against Vulnerable targets.
Horadric Seal S14
This build's Horadric Seal relies on the complete "Sightless" charm set (6/6), paired with a legendary seal. It's this full set that unlocks the ![]() Death Trap archetype's full potential in the endgame — without it, the build is still playable but noticeably less explosive.
Death Trap archetype's full potential in the endgame — without it, the build is still playable but noticeably less explosive.
Gameplay Tips
The top priority is hitting the breakpoints: cooldown reduction, maxed-out skill ranks, and the highest possible maximum resource. In your rotation, drop as many ![]() Death Trap as possible before engaging, use
Death Trap as possible before engaging, use ![]() Smoke Grenade to disorient groups of enemies, and keep
Smoke Grenade to disorient groups of enemies, and keep ![]() Dark Shroud active to stack its defensive and offensive charges.
Dark Shroud active to stack its defensive and offensive charges. ![]() Cold Imbuement (or
Cold Imbuement (or ![]() Poison Imbuement in the Push variant) adds extra control and damage on your traps. Use
Poison Imbuement in the Push variant) adds extra control and damage on your traps. Use ![]() Concealment to reposition unseen, then
Concealment to reposition unseen, then ![]() Shadow Step to dash from one pack of enemies to the next on a very low cooldown — this mobility is what makes the build shine when farming the Pit.
Shadow Step to dash from one pack of enemies to the next on a very low cooldown — this mobility is what makes the build shine when farming the Pit.
Talent Tree
On ![]() Death Trap, prioritize the
Death Trap, prioritize the ![]() Death Pit,
Death Pit, ![]() Dodge and
Dodge and ![]() Resolve upgrades (or
Resolve upgrades (or ![]() Explosive Trigger for endgame) to maximize the frequency and power of the explosions. On
Explosive Trigger for endgame) to maximize the frequency and power of the explosions. On ![]() Shadow Step, the
Shadow Step, the ![]() Artifice and
Artifice and ![]() Cooldown upgrades (or
Cooldown upgrades (or ![]() Cleave when pushing) further reduce the cooldown of your main mobility tool.
Cleave when pushing) further reduce the cooldown of your main mobility tool. ![]() Dark Shroud benefits from
Dark Shroud benefits from ![]() Shadow Dancer for survivability, while
Shadow Dancer for survivability, while ![]() Concealment relies on
Concealment relies on ![]() Calculation to strengthen burst windows after a stealthy reposition.
Calculation to strengthen burst windows after a stealthy reposition.
Mercenary S14
Raheir is the main mercenary for this build: his signature skill ![]() Ground Slam stuns and groups up enemies, which maximizes the efficiency of
Ground Slam stuns and groups up enemies, which maximizes the efficiency of ![]() Death Trap explosions by concentrating targets in the same area.
Death Trap explosions by concentrating targets in the same area.
The ![]() Bastion passive rounds out the duo's survivability with extra defensive support, useful for those moments when your mobility takes you a little too deep into a pack of enemies. As backup, Aldkin provides a welcome extra layer of support during heavy farming.
Bastion passive rounds out the duo's survivability with extra defensive support, useful for those moments when your mobility takes you a little too deep into a pack of enemies. As backup, Aldkin provides a welcome extra layer of support during heavy farming.
Paragon
Paragon progression revolves around the ![]() Devious,
Devious, ![]() Canny,
Canny, ![]() Versatility,
Versatility, ![]() Headhunter, and
Headhunter, and ![]() Ambush glyphs, leveled progressively from 25/100 early on up to 150/100 by the end of the push. This combination boosts damage against Vulnerable targets, survivability, and trap efficiency alike, in direct synergy with the
Ambush glyphs, leveled progressively from 25/100 early on up to 150/100 by the end of the push. This combination boosts damage against Vulnerable targets, survivability, and trap efficiency alike, in direct synergy with the ![]() Death Trap and
Death Trap and ![]() Shadow Step rotation.
Shadow Step rotation.
📖 Retrouvez tous les builds Diablo 4 Saison 12 : Voir tous les builds D4 →


0 Commentaires
Aucun commentaire pour le moment. Soyez le premier à commenter !