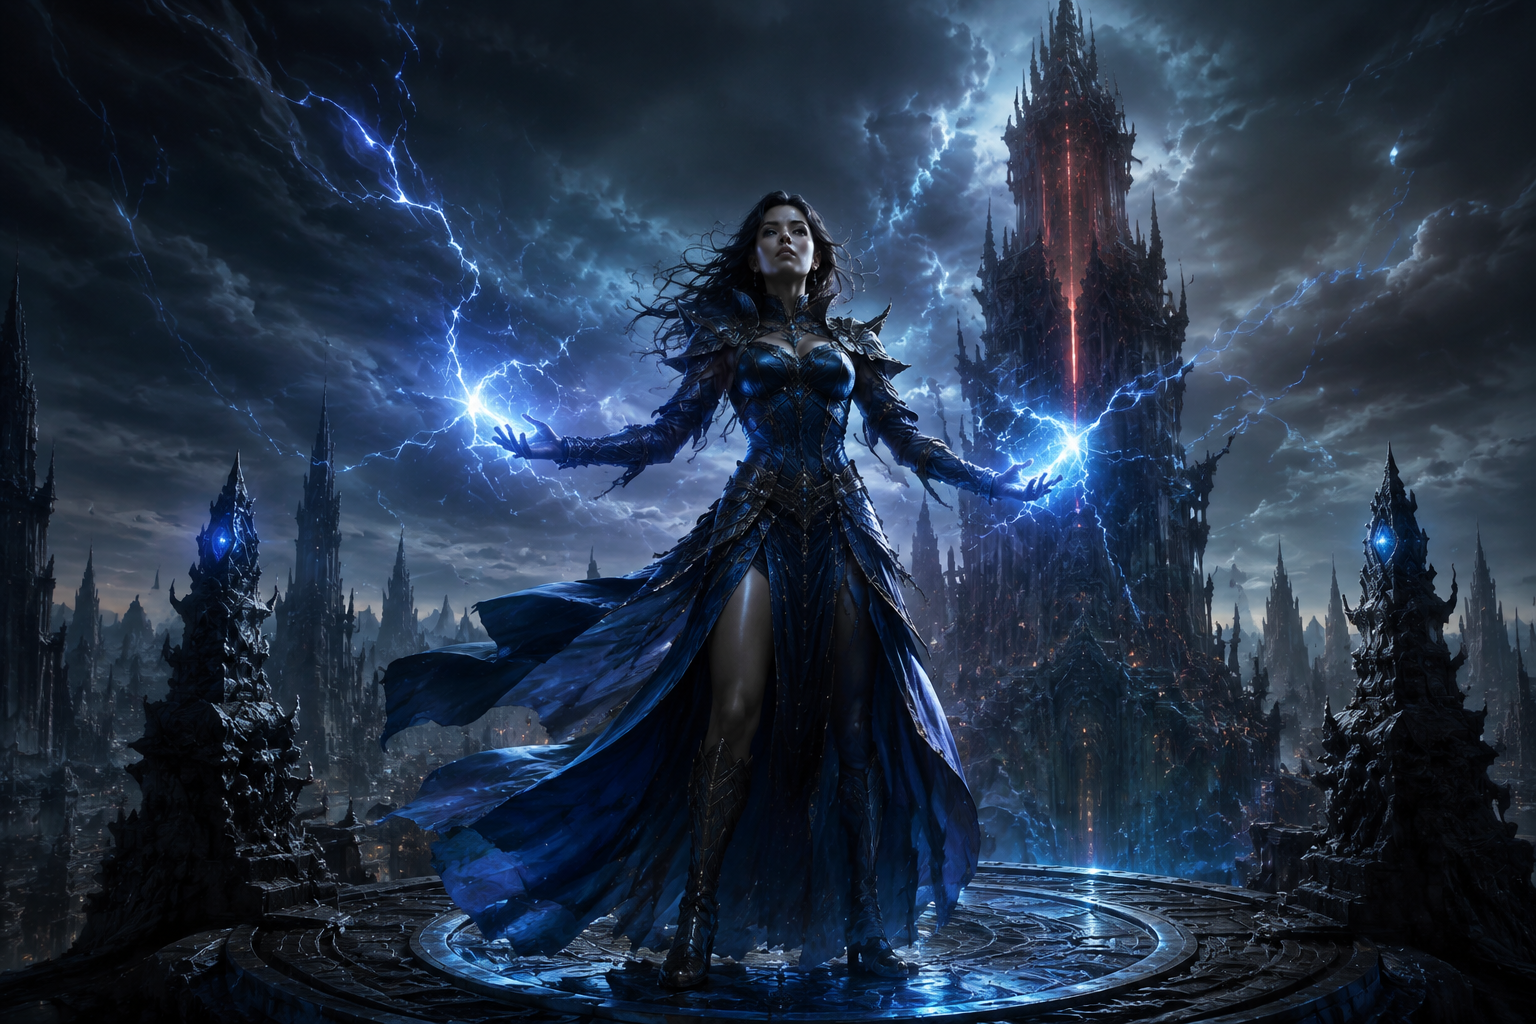
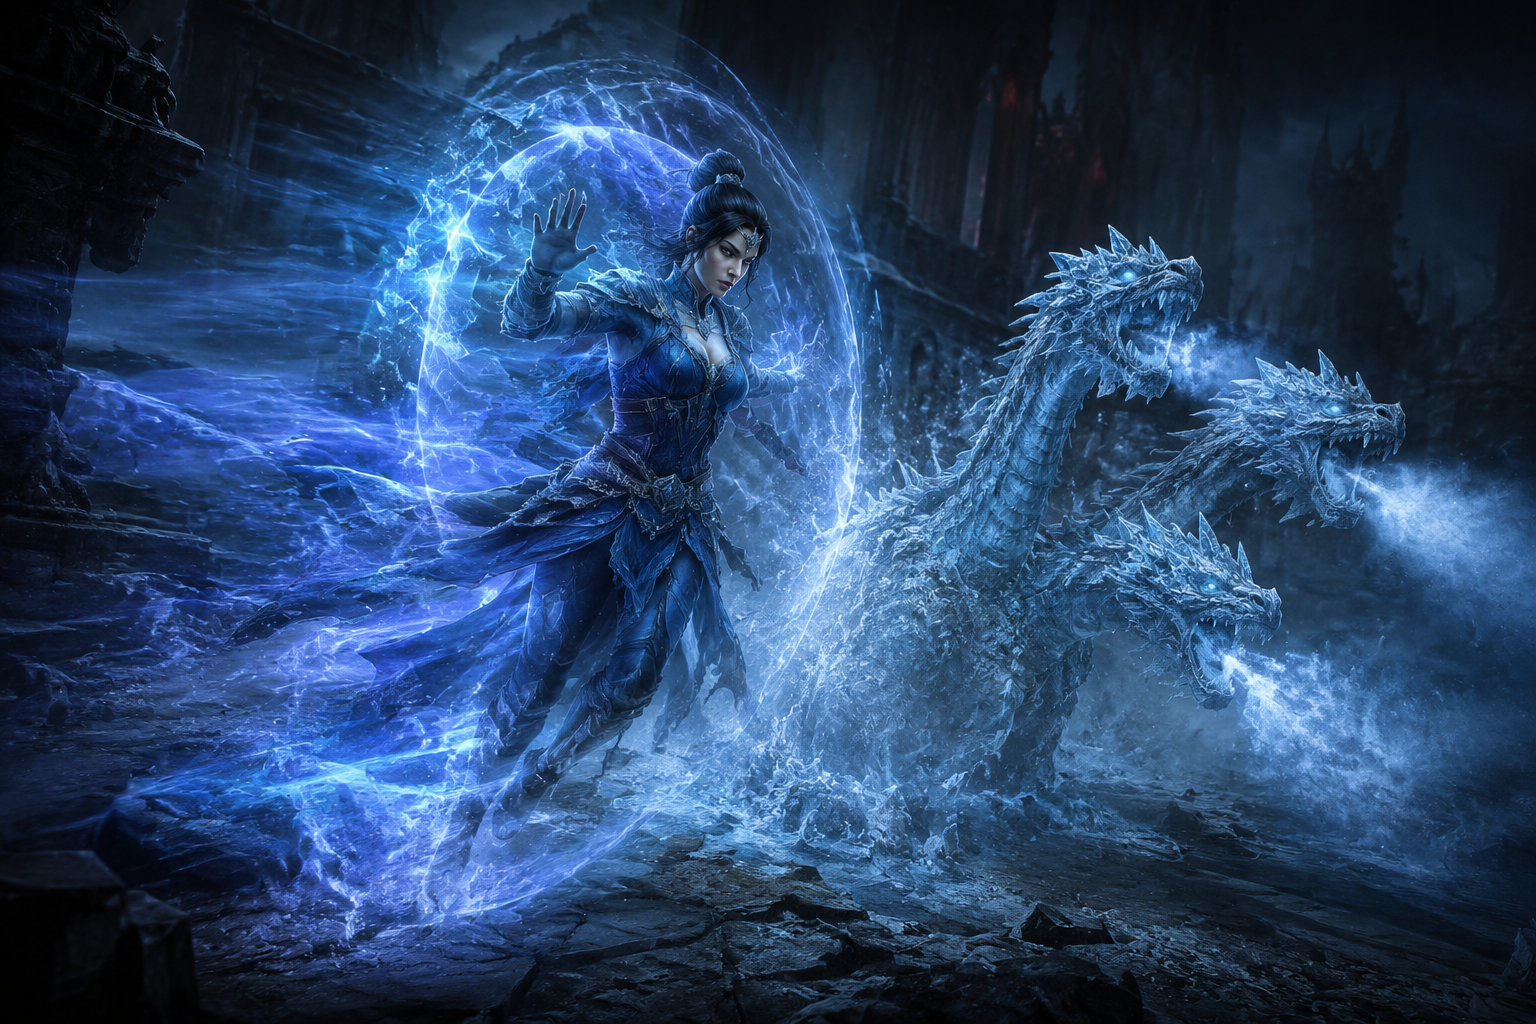
The Mekuna Sorceress Build Diablo 4 Ball Lightning just claimed the worldwide Rank 1 on Tower 150 in Season 13. Mekuna, co-creator of the build with the Infinity Sorcerer group, breaks down in this video the full run of his partner Aku, on the Ball Lightning Season 13 build. He covers the gear choices, the skill tree, the paragon and the best practices for pushing the highest tiers. Here is the full breakdown of the Mekuna Sorceress Build Diablo 4 that dominates the Tower this season.
Ball Lightning Sorceress Build S13
Full Ball Lightning Sorceress Build Season 13 (Mekuna and Infinity Sorcerer): detailed gear, skill tree, paragon, glyphs, horadric seal, mercenary and sanctification — all documented with KamiLabs interactive viewers.
See the full BUILD →MEKUNA Sorceress Build Diablo 4: Rank 1 Tower 150 Showcase
The first Tower cycle has just ended. Mekuna, co-creator of the Infinity Sorcerer build, presents in this video the full run of his teammate Aku, who reached Rank 1 worldwide on Tower 150, the absolute maximum tier. There is no Tower 151 or Tower 155: 150 is the ceiling.
For an overview of the top Sorceress choices this season, we compared the best options in our Top 3 Sorceress Builds Season 13. This result is the product of collective work by the Infinity Sorcerer group, with Mekuna crediting key contributors: CCC, Chingfang, Elf, Black Waters and MD for all the build optimization. Mekuna ranks himself seventh, self-described as "a bit rusty".
Before going further: this build is exclusively designed for pushing. Tower and Pit only. It sacrifices all survivability to maximize damage. This is a squishy build, hard to play, with very limited comfort. Mekuna makes it clear: don't expect a pleasant experience. If you're looking for a build to farm regular content, this isn't it.
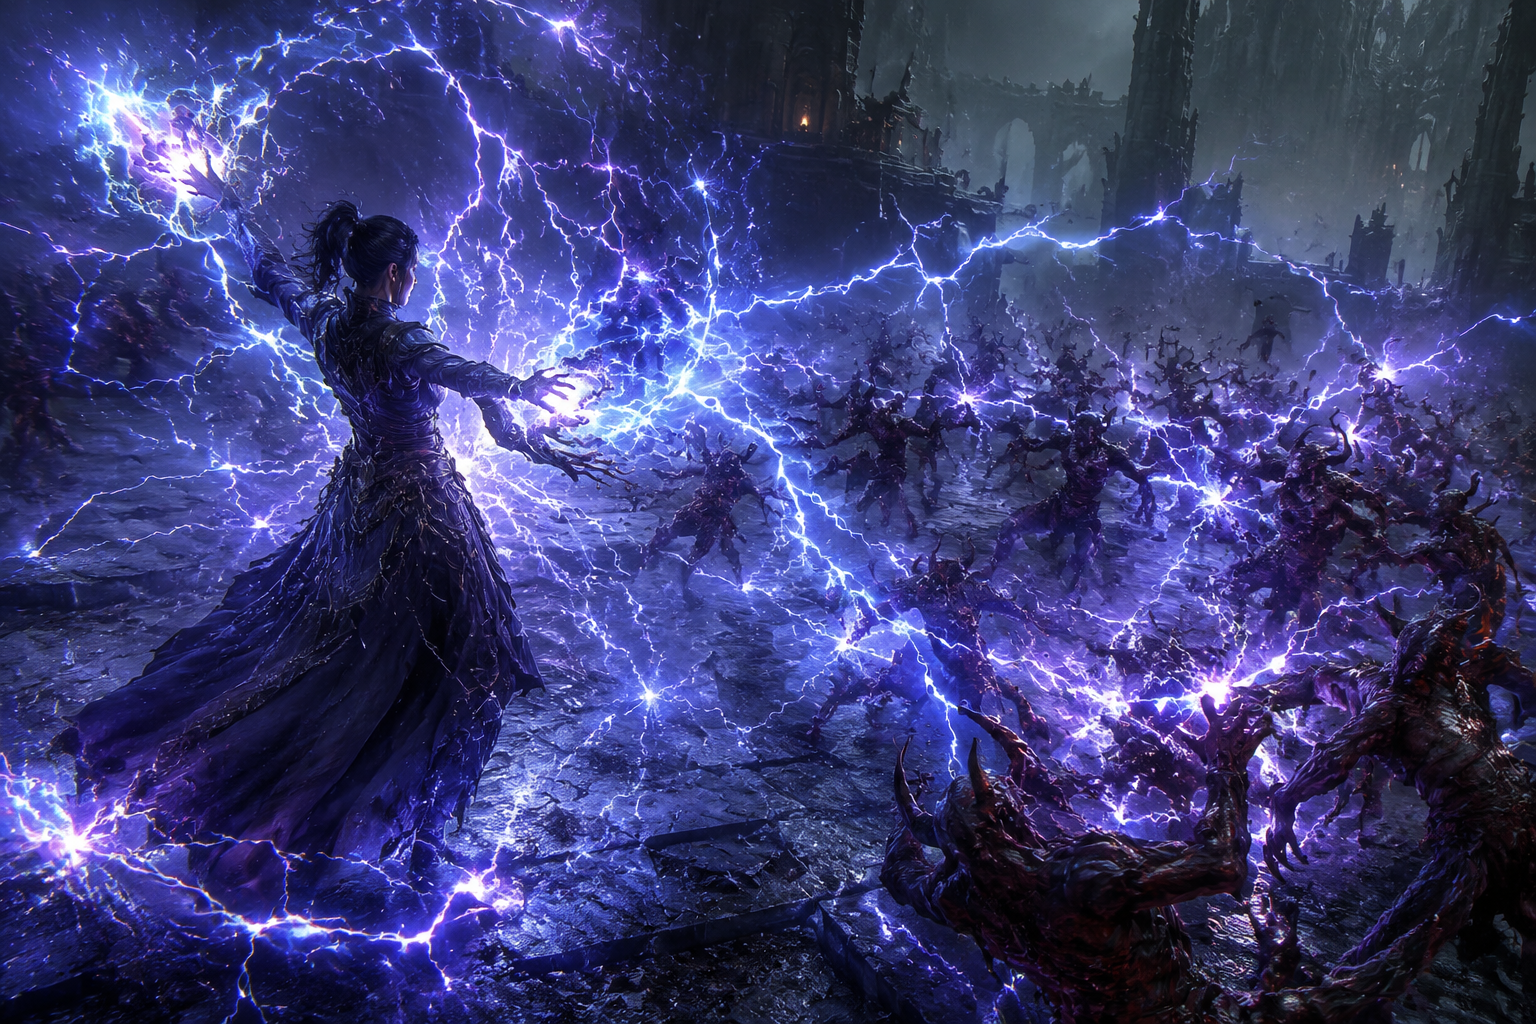
The video shows Aku's full clear, with no exploited bugs. Mekuna details the gear used and shares some gameplay tips for tackling the Tower with ![]() Ball Lightning.
Ball Lightning.
Gameplay Breakdown — Unstable Currents
At the start of a run with the Mekuna Sorceress Build Diablo 4, damage is low. That's intentional. The build doesn't ramp up immediately upon entering the Tower: you first need to activate ![]() Unstable Currents and let the stacks build up. While the counter is low, you deal little damage. This is the core mechanic of the build.
Unstable Currents and let the stacks build up. While the counter is low, you deal little damage. This is the core mechanic of the build.
To build those stacks as fast as possible, the goal is to group as many monsters together before unleashing your spells. The more enemies hit simultaneously, the more Crackling Energy you generate. Picking it up directly accelerates your power ramp. Around 200 to 250 stacks, everything starts to melt. That's where the ![]() Aspect of Overwhelming Currents comes in, acting as a damage multiplier during this power window.
Aspect of Overwhelming Currents comes in, acting as a damage multiplier during this power window.
![]() Ball Lightning is channeled almost continuously, and so is
Ball Lightning is channeled almost continuously, and so is ![]() Teleport. Aku uses it constantly to reposition, avoid attacks and stay alive. At this Tower level, the build is fragile. If you're not actively dodging, you die. Teleport is not an offensive tool here — it's a survival requirement.
Teleport. Aku uses it constantly to reposition, avoid attacks and stay alive. At this Tower level, the build is fragile. If you're not actively dodging, you die. Teleport is not an offensive tool here — it's a survival requirement.
The most critical moment is losing ![]() Unstable Currents. As soon as the ultimate expires, damage drops off immediately. You go from a smooth run to a phase where elites soak up hits without flinching. In those moments, it's better not to force it: keep trash packs to keep generating Crackling Energy and rebuild stacks rather than wasting time on unkillable elites.
Unstable Currents. As soon as the ultimate expires, damage drops off immediately. You go from a smooth run to a phase where elites soak up hits without flinching. In those moments, it's better not to force it: keep trash packs to keep generating Crackling Energy and rebuild stacks rather than wasting time on unkillable elites.
Around the 8-minute mark, an elite wave spawns. If stacks are still high at that point, everything evaporates in seconds. If Unstable Currents just expired, you'll need to manage differently. Power pylons can help, but it's random depending on the layout. The boss arrives right after.
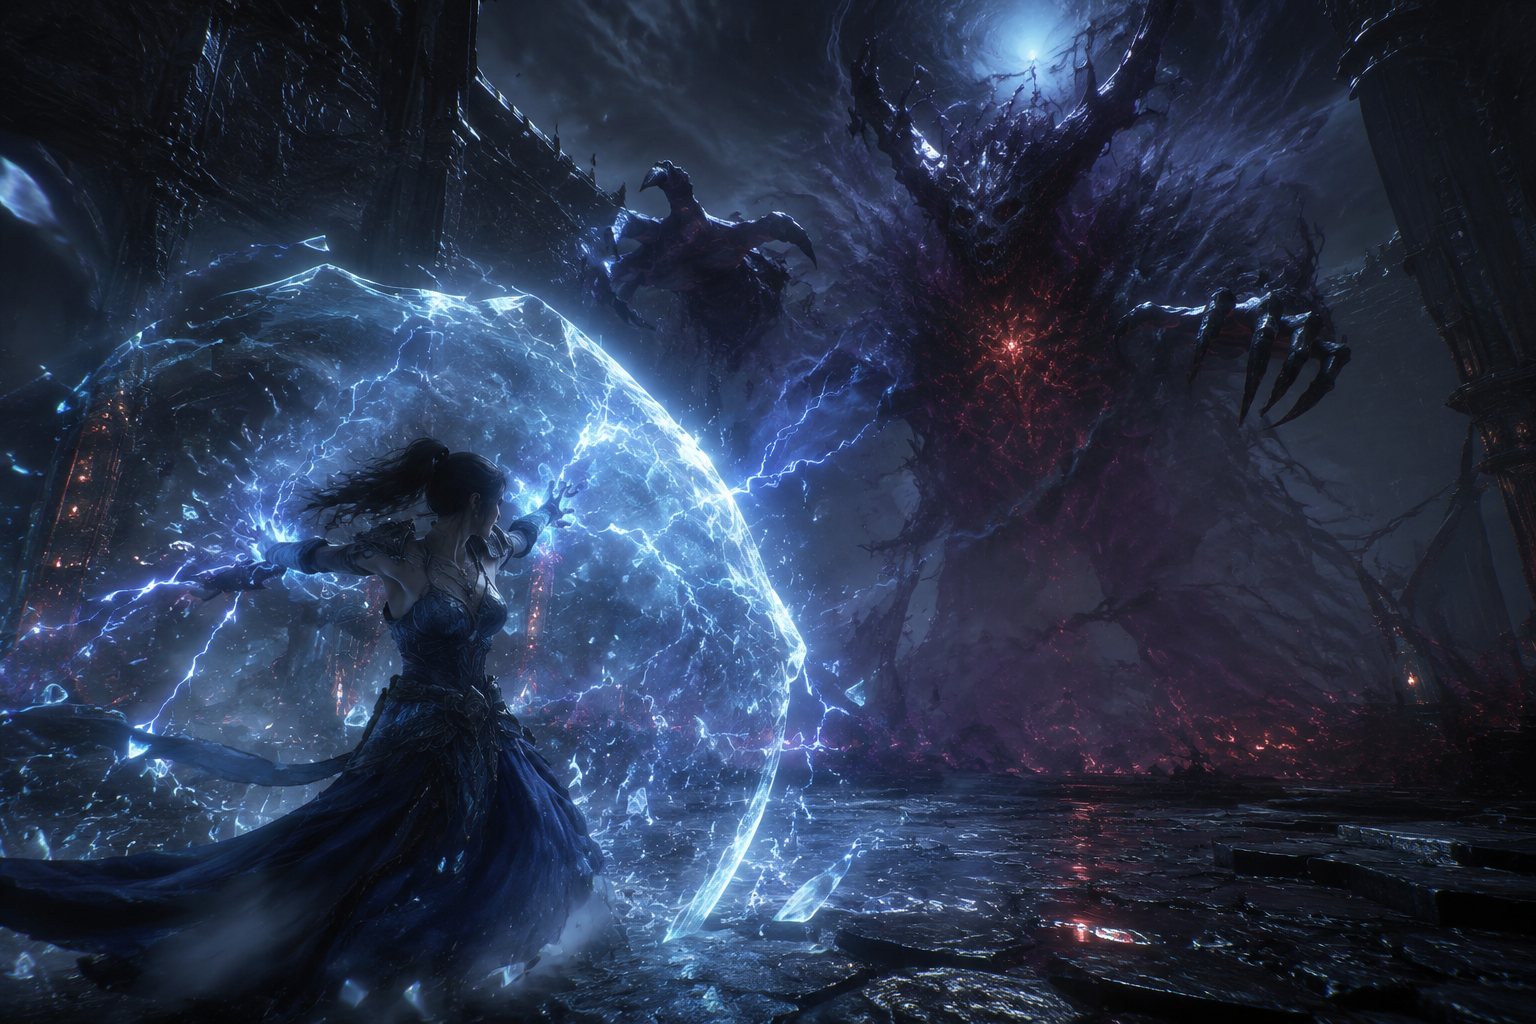
Boss Fight and Survival Tips
To push the Tower with the Mekuna Sorceress Build Diablo 4, the team recommends a minimum of 40,000 HP. Mekuna himself plays at 30,000 HP in this run, which he acknowledges is too low. The gear gap between what he uses and what is shown in the banner build partially explains this difference. This build is inherently fragile, so HP management is critical.
During boss fights, the health bar drops quickly if ![]() Unstable Currents stacks aren't up. Clearly visible in the video: once stacks are running at full speed, damage explodes and the boss collapses. Conversely, without stacks, nothing happens. You need to be patient at the start and avoid unnecessary risks before reaching a stable cadence.
Unstable Currents stacks aren't up. Clearly visible in the video: once stacks are running at full speed, damage explodes and the boss collapses. Conversely, without stacks, nothing happens. You need to be patient at the start and avoid unnecessary risks before reaching a stable cadence.
Boss fights can last three to four minutes. Throughout, you need to stay focused: use the potion at the right time, keep ![]() Ice Armor active, track cooldowns, and dodge dangerous mechanics. One moment of inattention is enough to die. This build is unforgiving.
Ice Armor active, track cooldowns, and dodge dangerous mechanics. One moment of inattention is enough to die. This build is unforgiving.
Final result: Tower 150 cleared in 6 min 36s to claim Rank 1. No exploit used, no double Charm bug, no Mythic Seal. Mekuna also considers the Mythic Seal non-essential in this six-Charm slot setup.
Mekuna's planner will be updated on Mobalytics (Pit leaderboard section), Aku's on Infinity. To see the exact gear used during this run, the easiest way is to check the in-game leaderboard directly, as planners may slightly differ from what was equipped at the time of the clear.
Season 13 Transfiguration and Gear Adaptation
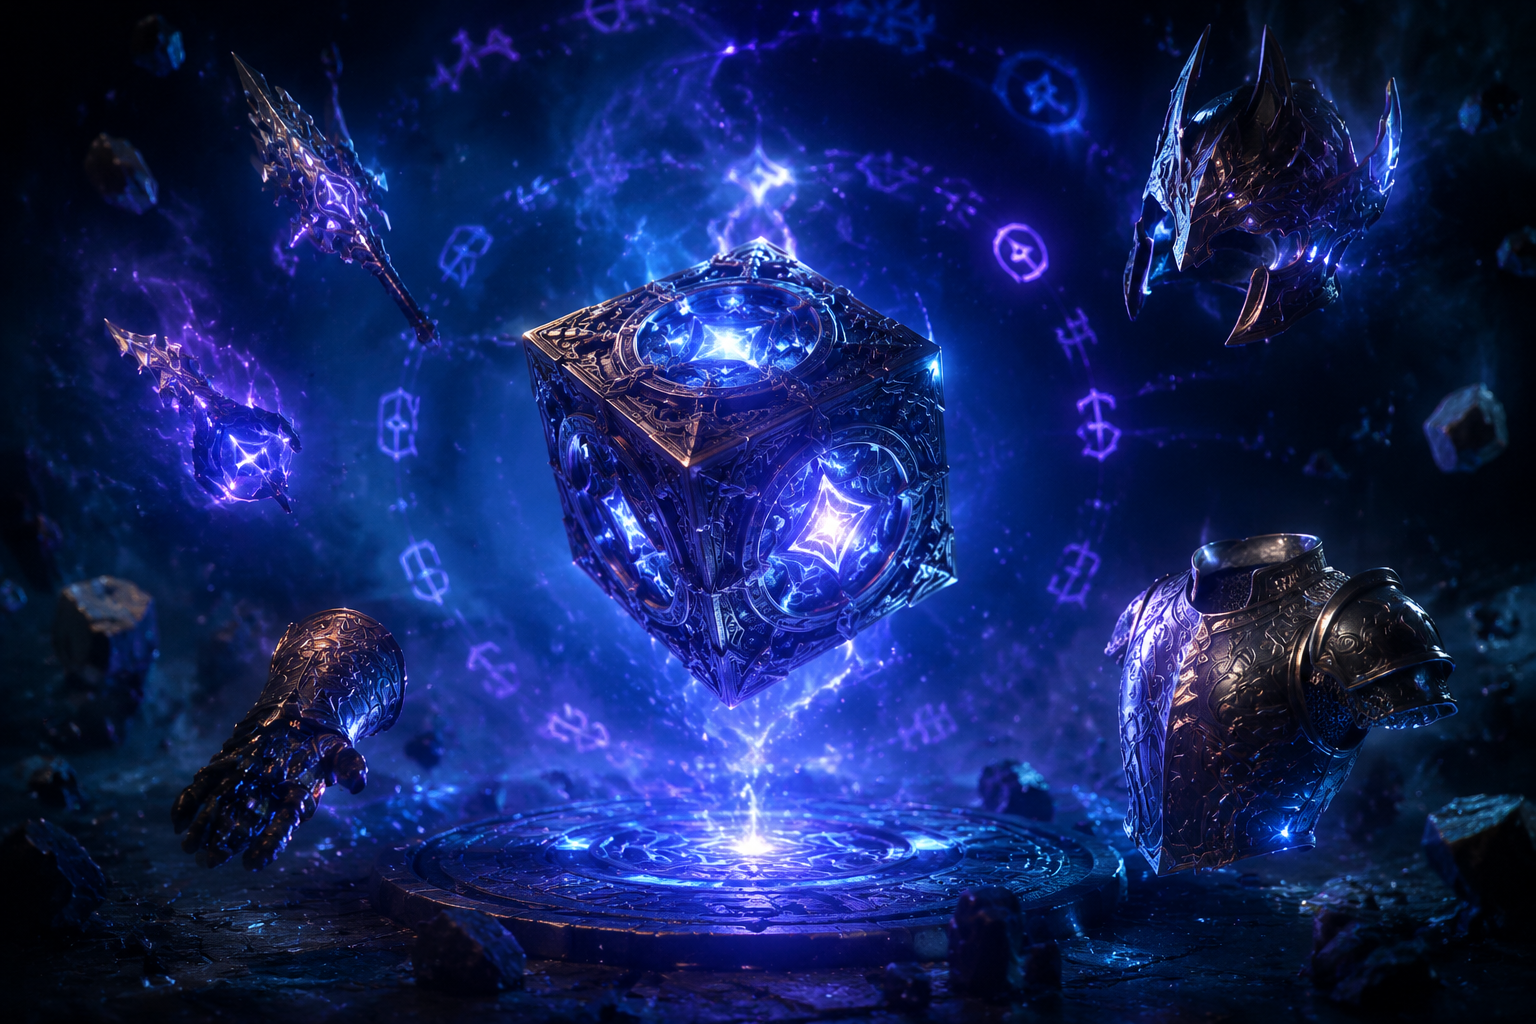
Season 13 introduces Transfiguration, and the Mekuna Sorceress Build Diablo 4 takes full advantage of it — a new mechanic available through the Horadric Cube reworked by patch 3.0.2. Its principle is straightforward: it adds a final stat or an extra upgrade to an already equipped item. For example, Mekuna obtained attack speed on his pants through Transfiguration. This detail changes everything for build optimization, because if attack speed is already covered on one piece, you no longer need to chase it elsewhere, on the ring for instance.
Sanctification works on a similar principle of adaptation. Having a sanctified piece with the "all attributes" stat unlocks a specific paragon node. That's a bonus not to be overlooked. Mekuna himself plays without those nodes unlocked, but recommends aiming for full sanctification with "all attributes" to benefit from the fully optimized paragon board. He also plays at 30,000 HP, which is below what more targeted gear would allow.
Aku's planner lists stat thresholds to hit. These are concrete targets to keep in mind while optimizing:
- 67.1% attack speed minimum
- ~67% critical strike chance
- 100% on the targeted stat depending on your chosen setup
If you already have critical strike chance on your pants, you don't need it on the focus. Same logic for attack speed. The idea is to distribute stats efficiently across all pieces to hit the thresholds without unnecessary overlap.
Another concrete example comes from tempering. Aku uses mana regeneration on his temper, which lets him avoid doubling up the temper with "lucky hit chance to restore resource". Result: he frees up a temper slot for more damage. Mekuna, on the other hand, doesn't have that stat on his temper and adapts his gear accordingly. This is the central principle of this section: the planner is the best possible baseline, but you will need to make adjustments based on the Transfiguration and Sanctification you actually obtain. Aim to follow the planner, then fine-tune based on what you have.
Rotation, Runes and Build Mechanics
The Mekuna Sorceress Build Diablo 4 rotation revolves around a tight resource loop. The first tactical decision of the build concerns the choice of utility spell: Mekuna replaces ![]() Familiar with an alternate spell that generates Overpower stacks. The more stacks you accumulate, the more frequently you can trigger
Familiar with an alternate spell that generates Overpower stacks. The more stacks you accumulate, the more frequently you can trigger ![]() Teleport — and that is precisely the key to the build, since each Teleport lets you pick up Crackling Energy from the ground. This alternate spell therefore acts as the engine for the entire gameplay loop.
Teleport — and that is precisely the key to the build, since each Teleport lets you pick up Crackling Energy from the ground. This alternate spell therefore acts as the engine for the entire gameplay loop.
On the survivability front, the two build variants are clearly opposed. Aku, the Tower 150 Rank 1 record holder, plays with only 1,000 HP — an extreme approach that lets him activate a dedicated rune to maximize damage, at the cost of near-zero survivability. Mekuna himself clarifies that he plays at 30,000 HP, which he describes as "not optimal at all", but suited to his comfort level. For players who want to progress more comfortably, he recommends a minimum of 40,000 HP, 100% critical strike chance, and around 67% attack speed. Adjust according to your gear and risk tolerance.
Ice ![]() Hydra plays an essential support role: in the presence of high enemy density, it resets the cooldown of
Hydra plays an essential support role: in the presence of high enemy density, it resets the cooldown of ![]() Ice Armor, ensuring near 100% uptime on your shield. Always keep at least one Hydra active on the field — this is a non-negotiable condition for the build's defensive stability.
Ice Armor, ensuring near 100% uptime on your shield. Always keep at least one Hydra active on the field — this is a non-negotiable condition for the build's defensive stability.
The rotation boils down to a relatively simple loop once internalized. Channel ![]() Ball Lightning continuously, cast your alternate spell to generate Overpower stacks, then use
Ball Lightning continuously, cast your alternate spell to generate Overpower stacks, then use ![]() Teleport to pick up Crackling Energy from the ground. Refresh
Teleport to pick up Crackling Energy from the ground. Refresh ![]() Ice Armor whenever it's available, activate
Ice Armor whenever it's available, activate ![]() Unstable Currents on the same logic, and always keep a
Unstable Currents on the same logic, and always keep a ![]() Hydra deployed to maintain cooldown resets. Simple in theory, demanding in execution — especially when density ramps up and decisions must chain in fractions of a second.
Hydra deployed to maintain cooldown resets. Simple in theory, demanding in execution — especially when density ramps up and decisions must chain in fractions of a second.
Skill Tree Breakdown

The structural constraint of the Mekuna Sorceress Build Diablo 4 skill tree is the ![]() Aspect of Elemental Constellation: it requires two skills allocated per element to activate. The build satisfies exactly this condition — two fire skills, two ice skills, two lightning skills — which explains certain choices that might seem secondary at first glance.
Aspect of Elemental Constellation: it requires two skills allocated per element to activate. The build satisfies exactly this condition — two fire skills, two ice skills, two lightning skills — which explains certain choices that might seem secondary at first glance. ![]() Unstable Currents does not need to be manually activated from the skill bar, since the constellation triggers it automatically once the elemental conditions are met.
Unstable Currents does not need to be manually activated from the skill bar, since the constellation triggers it automatically once the elemental conditions are met.
Here are the key skills present in the tree:
 Teleport: mobility and repositioning, essential for pushing.
 Hydra: reduces the cooldown of
  Blizzard through its tree interaction.
 Familiar: generates Ferocity stacks, which directly translates into movement speed.
 Ice Armor: survivability and contribution to ice element coverage.
 Firewall: generates additional Crackling Energy, making it an important piece of the build's resource engine.
- Blizzard: present in the tree for ice element coverage and build synergies.
One node choice remains at the player's discretion: between ![]() Static Field and the Exposure upgrade. The first stuns and chills enemies, which Mekuna personally prefers. The second is more oriented toward damage exposure. Neither option is fundamentally superior — it comes down to playstyle, and the impact remains marginal at the global build level.
Static Field and the Exposure upgrade. The first stuns and chills enemies, which Mekuna personally prefers. The second is more oriented toward damage exposure. Neither option is fundamentally superior — it comes down to playstyle, and the impact remains marginal at the global build level.
An adjustment is also planned with the next balance patch: a node conflict currently prevents combining the damage bonus of ![]() Ball Lightning with the rest of the tree. Once the fix goes live, that bonus will be integrated. In the meantime, Mekuna stresses one essential point: always follow the build planner, which is kept up to date in real time. The few differences between Mekuna's tree and his push partner's amount to one or two nodes — 99.9% of the tree is identical. Finally, if you're looking for a less fragile lightning alternative, check out the Lightning Spear Sorceress S13 build which covers a different playstyle. The targeted ultimate upgrade for
Ball Lightning with the rest of the tree. Once the fix goes live, that bonus will be integrated. In the meantime, Mekuna stresses one essential point: always follow the build planner, which is kept up to date in real time. The few differences between Mekuna's tree and his push partner's amount to one or two nodes — 99.9% of the tree is identical. Finally, if you're looking for a less fragile lightning alternative, check out the Lightning Spear Sorceress S13 build which covers a different playstyle. The targeted ultimate upgrade for ![]() Unstable Currents is
Unstable Currents is ![]() Boundless.
Boundless.
Paragon, Glyphs and Boards
The Paragon of the Mekuna Sorceress Build Diablo 4 is identical to what you find on standard Sorceress variants. Mekuna relies on the following glyphs: ![]() Tactician,
Tactician, ![]() Static Surge to boost damage,
Static Surge to boost damage, ![]() Elementalist,
Elementalist, ![]() Enchantment Master,
Enchantment Master, ![]() Unleash,
Unleash, ![]() Searing Heat,
Searing Heat, ![]() Destruction, as well as the Rigid Fates and Adapt boards.
Destruction, as well as the Rigid Fates and Adapt boards.
Among these choices, ![]() Unleash deserves special attention: it is essential for mana generation on bosses, where every resource counts.
Unleash deserves special attention: it is essential for mana generation on bosses, where every resource counts. ![]() Destruction provides a significant damage multiplier as long as you maintain 100% critical strike chance, which is consistently the case in late progression. Rigid Fates ensures enemies remain constantly vulnerable, and Adapt is particularly interesting because it directly increases the area of
Destruction provides a significant damage multiplier as long as you maintain 100% critical strike chance, which is consistently the case in late progression. Rigid Fates ensures enemies remain constantly vulnerable, and Adapt is particularly interesting because it directly increases the area of ![]() Ball Lightning and
Ball Lightning and ![]() Blizzard, translating into more projectiles hitting the target.
Blizzard, translating into more projectiles hitting the target.
An important note on gloves: for pushing, Mekuna recommends Intelligence over Core Skill. The reasoning is straightforward — at this level of play, you've already accumulated a high number of ranks on ![]() Ball Lightning, and the diminishing returns on Core Skill make raw Intelligence more valuable. This is an adjustment to consider only if your gear is sufficiently advanced. Early in the season or with average gear, Core Skill remains the safe choice.
Ball Lightning, and the diminishing returns on Core Skill make raw Intelligence more valuable. This is an adjustment to consider only if your gear is sufficiently advanced. Early in the season or with average gear, Core Skill remains the safe choice.
Finally, note that all mastery skills in this build, visible in the tree, are counted as full skills in their own right: they therefore benefit from rank bonuses and interact with glyphs tied to active skills.
Charms, Mercenary and Sanctification
The Mekuna Sorceress Build Diablo 4 maximizes every charm slot. For the Horadric Seal, you don't need a Mythic to start playing the build. The essential modifier is +4 to all Lightning skills on each charm. This mod double dips with ![]() Unstable Currents and
Unstable Currents and ![]() Ball Lightning simultaneously, making it by far the best available bonus. Mastery skills, generic skills, classic offensive stats — nothing comes close to this double dip. All charm optimization revolves around this single affix.
Ball Lightning simultaneously, making it by far the best available bonus. Mastery skills, generic skills, classic offensive stats — nothing comes close to this double dip. All charm optimization revolves around this single affix.
The Lucion Charm is a special Season 13 charm to place in the Seal. It grants 90% damage spread across 6 slots at once, which represents a massive gain in a single slot. Also look for critical strike chance on Lightning on it to get even more value out of the slot.
On the mercenary side, the goal is to take the node that grants +25% bonus damage on the right branch, then pair it with Bastion. Mekuna attaches Bastion to ![]() Ice Armor because he spams it frequently, but that's a personal preference. The mercenary should be used offensively: whenever a burst or a dense pack arrives, trigger the mercenary immediately to place them between yourself and the threat. A minor adjustment, but one that matters at the highest Tower levels.
Ice Armor because he spams it frequently, but that's a personal preference. The mercenary should be used offensively: whenever a burst or a dense pack arrives, trigger the mercenary immediately to place them between yourself and the threat. A minor adjustment, but one that matters at the highest Tower levels.
For Sanctification, the priority stats in order are: +all sets, +all skills, then +Lightning damage. The "+all skills" bonus is particularly powerful here because it grants additional ranks to ![]() Unstable Currents and
Unstable Currents and ![]() Ball Lightning — exactly the same double dip as on the Seal charms. The synergy repeats at every level of the build.
Ball Lightning — exactly the same double dip as on the Seal charms. The synergy repeats at every level of the build.
One final note on adapting to your actual gear: if the Transfiguration you obtain is on critical strike chance, you'll need to slightly adjust your Mastery skill priorities to take advantage of it. The planner will be updated by Mekuna as the season's adjustments roll in.
Want the full build?
Full Ball Lightning Sorceress Build Season 13 (Mekuna and Infinity Sorcerer): detailed gear, skill tree, paragon, glyphs, horadric seal, mercenary and sanctification — all documented with KamiLabs interactive viewers.
See the full BUILD →


0 Commentaires
Aucun commentaire pour le moment. Soyez le premier à commenter !