
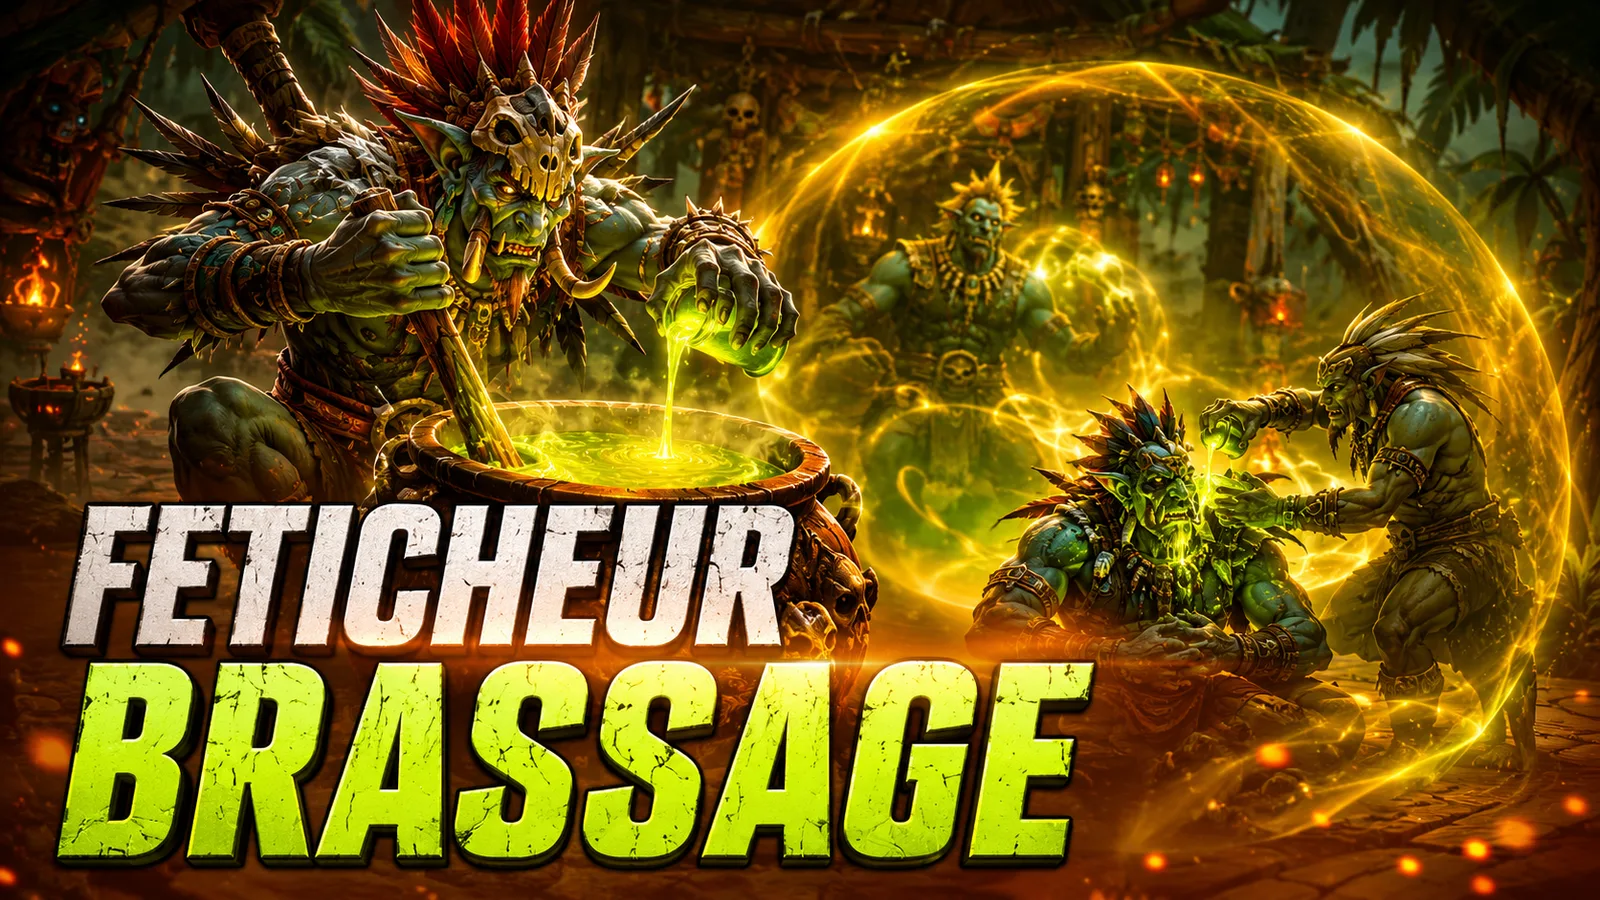
Brewing is the prep-and-pour healer. You don't panic-cast — you brew the healing before it's needed: load a Cauldron with Ingredients and a Spice, then dispense it all as shields and restorative brews. It's a shield-heavy kit, five ward effects against only two direct heals — the proactive healer archetype, where the strength is what you bottled in advance, not a panic button.
The Cauldron system is literal: prepare Ingredients into a Cauldron, and nearby allies drink the buff directly.
You may now prepare Ingredients into a Cauldron, crafting a brew. Nearby allies are buffed based on the active brew, with only one Ingredient of each type active at a time.
The closest retail relative is Preservation Evoker, mechanically rather than by vibe: Spirit in a Bottle — healing an ally while chipping and debuffing nearby enemies on the same cast — is exactly the same trick as Living Flame's dual heal/damage identity. Mojo Beam's 'channel, then weave instant heals through it' shape mirrors Dream Breath/Spiritbloom empowerment weaving, and Jungle Shrooms' rolling group heal-over-time paired with Master Mixologist's amplify window plays like a cheaper, more sustained Reversion/Emerald Blossom setup. Its group mitigation is distributed across the Cauldron's Bases and Ingredients — Base: Beast Blood converts physical hits into damage-over-time, Base: Crystal Water and Ingredient: Frog Bones shield allies — which parallels Preservation's spread-the-mitigation approach rather than one big raid button. Where it diverges from Evoker: no hard single-target crowd control of its own — its group protection is the placed Voodoo Cauldron and the Spice: Peacebloom CC-duration cut rather than a Hex-style lockdown.
How is this number calculated?
Measured scope: Zul'Gurub, Molten Core, Onyxia's Lair, all difficulties — High Priest Venoxis, High Priestess Jeklik, High Priestess Mar'li, Bloodlord Mandokir, High Priest Thekal, High Priestess Arlokk, Jin'do the Hexxer, Hakkar, Gri'lek, Gahz'ranka, Lucifron, Magmadar, Gehennas, Baron Geddon, Garr, Shazzrah, Golemagg the Incinerator, Sulfuron Harbinger, Majordomo Executus, Ragnaros, Basalthane, Onyxia.
These numbers come from Ascension Logs’ public combat logs, not an in-house guess.
The index compares each spec to the median player — the one sitting exactly in the middle of the ranking — on the same boss and the same group format: 1.00 matches that median player, 1.40 means 40% more damage than them. Only each player’s best fight counts, never their average — otherwise a player posting fifty fights would count as much as fifty different players, and averaging would mostly reward beginners still learning the spec rather than those who’ve mastered it. The comparison always happens on the same boss and the same format: a two-minute fight and a seven-minute one aren’t comparable, and a flex raid doesn’t give the same support as a 25-man.
Tiers (S, A, B…) aren’t picked by hand: the cutoffs are calculated from the real spread of every measured spec. A spec under 15 distinct players or 30 fights isn't ranked at all, rather than given a made-up grade. For healing specs, only fights where the player actually healed are counted — several healing specs are often played for damage, and counting those would unfairly drag their score down.
How is this number calculated?
Mythic dungeons only — Ascension CoA has no Mythic+ tier yet (220 tracked encounters).
These numbers come from Ascension Logs’ public combat logs, not an in-house guess.
The index compares each spec to the median player — the one sitting exactly in the middle of the ranking — on the same boss: 1.00 matches that median player, 1.40 means 40% more damage than them. Only each player’s best fight counts, never their average — otherwise a player posting fifty fights would count as much as fifty different players, and averaging would mostly reward beginners still learning the spec rather than those who’ve mastered it. The comparison always happens on the same boss: 92.4% of dungeon fights are played in 5-player groups, and splitting by group size as well would discard more usable damage rows (4.5% lost against 1.4% when comparing by boss alone) for zero additional publishable spec — group size is therefore not part of the comparison.
Tiers (S, A, B…) aren’t picked by hand: the cutoffs are calculated from the real spread of every measured Dungeon spec — this column has its own distribution, it doesn’t reuse Raid’s cutoffs. A spec under 15 distinct players or 30 fights isn't ranked at all, rather than given a made-up grade. For healing specs, only fights where the player actually healed are counted — several healing specs are often played for damage, and counting those would unfairly drag their score down.
Each performance above links to its own real combat report. Ascension Logs, however, doesn’t offer a rankings page covering every Mythic dungeon — unlike Raid, there’s no « View the source rankings » button here.
Ranking updated on August 29, 2026
The tree the best players actually run. Read from the top 10 Brewing Witch Doctors in our player rankings for raids, of whom 2 were last recorded in a dungeon, leaving 8. 35 of its 51 talents are identical across all 8, so they agree on the bulk of it and part ways on the rest. This exact tree is run by the 10th ranked player. Recorded on 11 August 2026.
The 58 points are a fixed budget, so no tree can take everything. The most common picks left out of this one: Mojo: Frog Shrooms 75 %, Mojo: Jungle Thistle 50 %, Unstable Concoction 50 %.
These talents are a PvE configuration. The Arena and Battleground grades shown above rate the specialisation’s PvP potential, not this tree.
Spirit is the true heal-scaling attribute here, not a bottom-of-list regen stat: Spirit Healer converts Spirit into both healing power and spell crit chance, and the actual heals/shields carry direct Spirit coefficients. So Spirit leads alongside Spell Power rather than trailing Intellect. As a pure healer, spell hit is correctly absent; Crit stays a strong secondary for ward/brew payoff, while Haste mainly speeds Loa's Brew and periodic ticks. Intellect only appears because Spirit isn't a badge option.
See also: all Ascension CoA builds and the Ascension talent builder.
Talent data: ascension.gg
· Spec tiers & analysis: ascensionsidekick.com
Editorial rewrite, interactive talent tree, tooltips and fact-checking: KAMI LABS






0 Commentaires
Aucun commentaire pour le moment. Soyez le premier à commenter !