
LEVELING | ENDGAME | PIT PUSH | PTR DRUIDE
⚠️ PTR Build — Test Server
This build has only been tested on the Public Test Realm (PTR) and may undergo major changes when it releases officially.
Build Overview
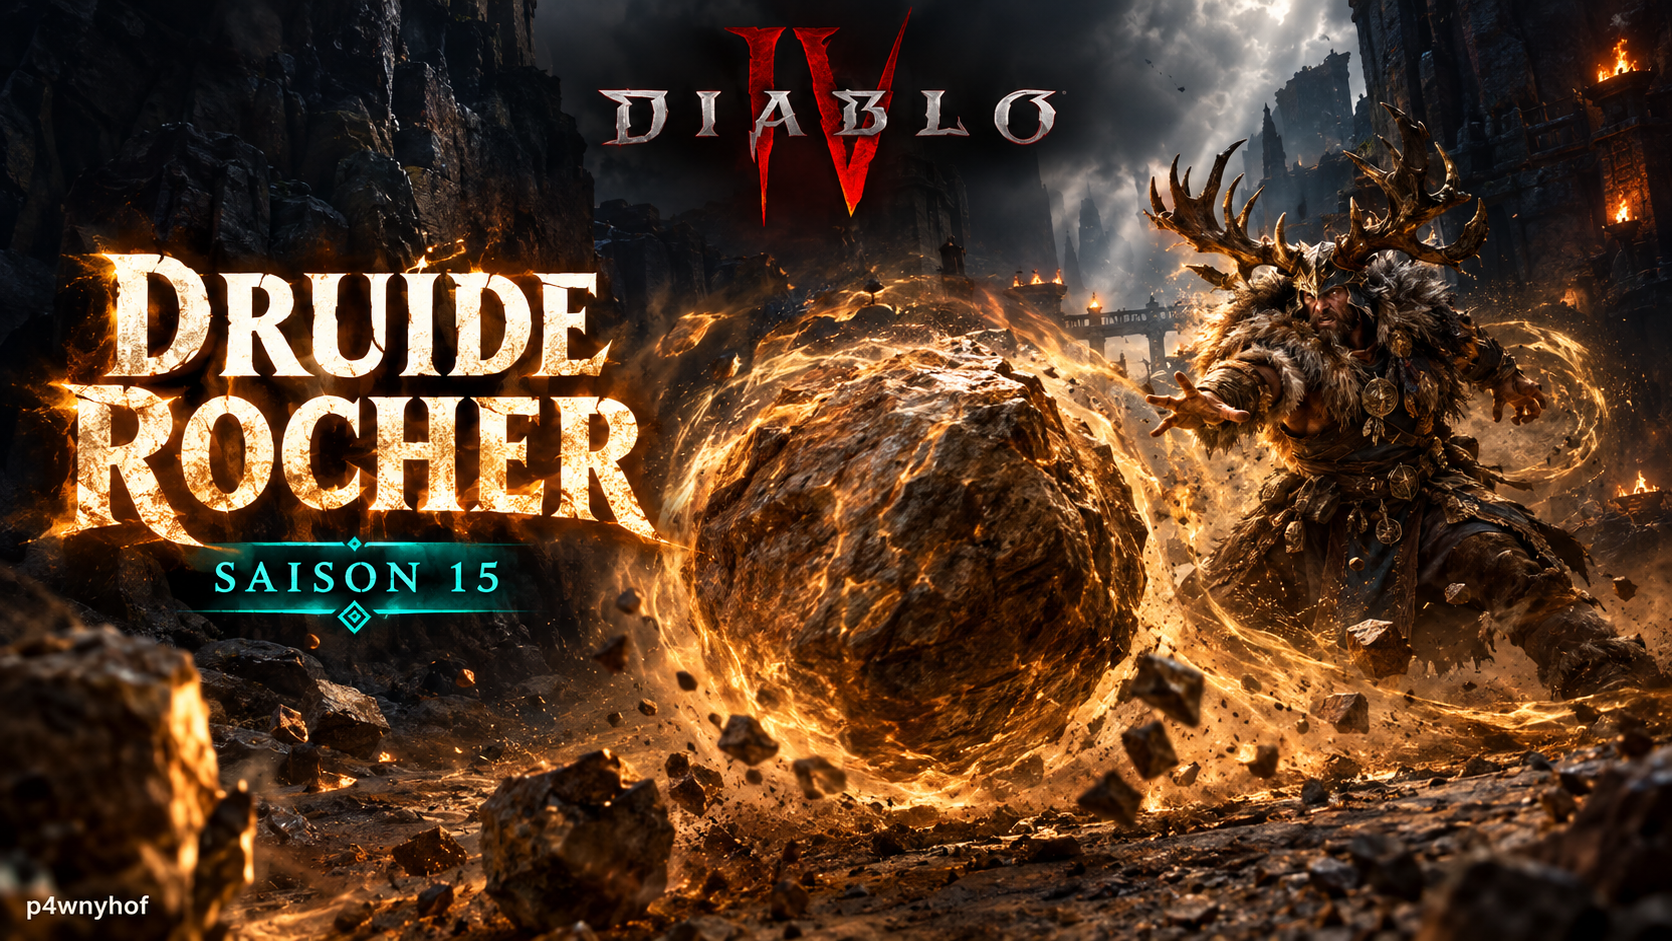
The Boulder Druid designed by p4wnyhof relies on one simple idea: turning every activation of  Grizzly Rage into a continuous rain of boulders capable of wiping entire screens of enemies. In this Bear form, the build pairs very comfortable survivability, carried by Fortify, with area damage that ramps up fast once the endgame gear is assembled. Hence the build's name, Boulder of Trillions. The main skill,
  Boulder, automatically drops around the character at regular intervals, which leaves your hands free to move, evade, and pick up loot without ever interrupting the damage. It's a build built for farming Pits and open, high-density zones, where the boulder's area of effect does most of the work without requiring precise aiming. It suits players who like sturdy, low-risk setups just as well as those looking for a Druid that can clear T12 with a minimal rotation.
Pros and Cons
✅ Pros
- Massive area of effect that crushes entire packs of monsters without ever needing to aim
- Very comfortable survivability thanks to stacked Fortify between Boulder and Grizzly Rage
- Minimal rotation: keep Grizzly Rage active while Boulder drops on its own around the character
- The Bear Storm variant lets you switch playstyles without rebuilding the whole build from scratch
❌ Cons
- Single-target damage clearly lags behind its area damage
- Depends on five specific unique items to reach its full endgame potential
- The Horadric Seal only accepts Nature Magic skill ranks, which severely limits late-game options
Recommended Gear for the Boulder Druid
Loot Table
On the Boulder version, five unique items lock in the build:  Godslayer Crown on the helm,
  Tibault's Will on the pants,
  Dolmen Stone on the amulet, and the two unique rings Might of the Ursine and Fractured Runestone.
On the aspect side, the Crushing Aspect on the weapon amplifies the boulder's own area damage, while the  Aspect of Heavenly Strength on the chest and the
  Tidal Aspect on the gloves round out the set. The
  Overcharged Aspect completes the setup on the boots.
The alternative Bear Storm variant trades part of this gear for a more storm-oriented profile:  Gathlen's Birthright replaces the crown,
  Azurewrath takes the main weapon slot, and
  Unsung Ascetic's Wraps add ranks to
  Lightning Storm directly on the gloves. The two legendary rings carry the Thundergod's Blessing and Might of the Ursine powers respectively, two affixes geared toward lightning damage rather than ground pounding.
Horadric Seal S15
This build's Horadric Seal is particularly restrictive: it only accepts Nature Magic skill ranks, which rules out a whole part of the Druid's tree from the start. Of the six charm slots on the Boulder version, five hold the full Beru of the Old Mountain set, along with Phoba, Mlor, and Linta of the Old Mountain, plus Fer of the Old Mountain, rounded out by the unique charm  Banished Lord's Talisman in the last slot. Among the skill ranks the seal allows, prioritize Shapeshifting ranks over Werebear or Werewolf ones: those are what add the most value to this build. If you get your hands on a Mythic Horadric Seal, you can then stack the full set on top of the selection already on the seal.
On the Bear Storm variant, the same seal holds the equivalent Beru of the Storm Shepherd set and its four counterparts, this time with the unique charm Dirge of Airidah in place of the Banished Lord's Talisman.
Gameplay Tips
The Boulder Druid needs no rotation to speak of: Grizzly Rage is the skill to keep active at all times, while Boulder automatically drops around the character at regular intervals to clear out everything nearby. Save your downtime for moments when you need to recast  Earthen Bulwark before engaging a dangerous pack, or
  Debilitating Roar to weaken a Boss before a burst phase.
Once T12 is in the bag, what comes next mostly comes down to your taste: nothing's stopping you from sticking with the Boulder version if the ground-pounding style suits you, or switching to Bear Storm as soon as the matching gear is assembled for a more mobile playstyle centered on sustained lightning damage.
Skill Tree
While leveling (1-70), go for a simpler profile built around Lightning Storm,  Wolves,
  Poison Creeper, and
  Petrify: this combination comfortably covers survivability and area damage all the way to max level, before switching over to the full Boulder tree once the endgame gear is assembled.
On the Boulder tree, four skills reach max rank: Boulder (15/15) with the Werebear upgrade, which casts it in Bear form, Grizzly Rage (15/15) with the Cornered Beast upgrade, and Lightning Storm (15/15) with the Werewolf upgrade. Earthen Bulwark sits just below the cap (11/15), with the Travertine Bulwark upgrade.
The three remaining skills only need a single point each, but their upgrades matter just as much:  Cyclone Armor with the Reversal upgrade, Debilitating Roar with the Booming Roar upgrade, and
  Wind Shear with the Werebear upgrade, in line with the build's Bear form.
On Bear Storm, replace Boulder and Earthen Bulwark with  Hurricane, which becomes the third offensive pillar alongside Lightning Storm and Grizzly Rage, for a more mobile profile centered on sustained lightning damage rather than area pounding.
Mercenary S15
Raheir is the main mercenary for this build, with  Ground Slam as his signature skill, complemented by
  Raheir's Aegis,
  Bastion, and
  Inspiration allocated on his tree. This combination brings both physical area damage and a solid extra layer of survivability to back up the Druid's ground pounding.
Varyana stays on as backup, with her  Bloodthirst skill rounding out Raheir's offensive contribution without ever taking his place as main mercenary.
Paragon
The starting board holds the  Werebear glyph, which directly strengthens Bear form while benefiting from the surrounding legendary nodes. On the Earthen Devastation board, the
  Dominate glyph leans on the density of damage nodes to push the build's area damage. Survival Instincts is home to
  Earth and Sky, which blends survivability and Earth damage, exactly the profile this build is after.
On Heightened Malice, the  Spirit glyph rounds out resource generation during prolonged fights, and finally
  Tectonic closes things out on Constricting Tendrils, further boosting Earth-related damage.
📖 Retrouvez tous les builds Diablo 4 Saison 12 : Voir tous les builds D4 →









0 Commentaires
Aucun commentaire pour le moment. Soyez le premier à commenter !