
LEVELING | ENDGAME | PIT PUSH | PIT 120 | PTR NECROMANCIEN
⚠️ Build PTR — Serveur de test
Ce build a été testé uniquement sur le serveur de test (PTR) et peut subir des modifications majeures lors de la sortie officielle.
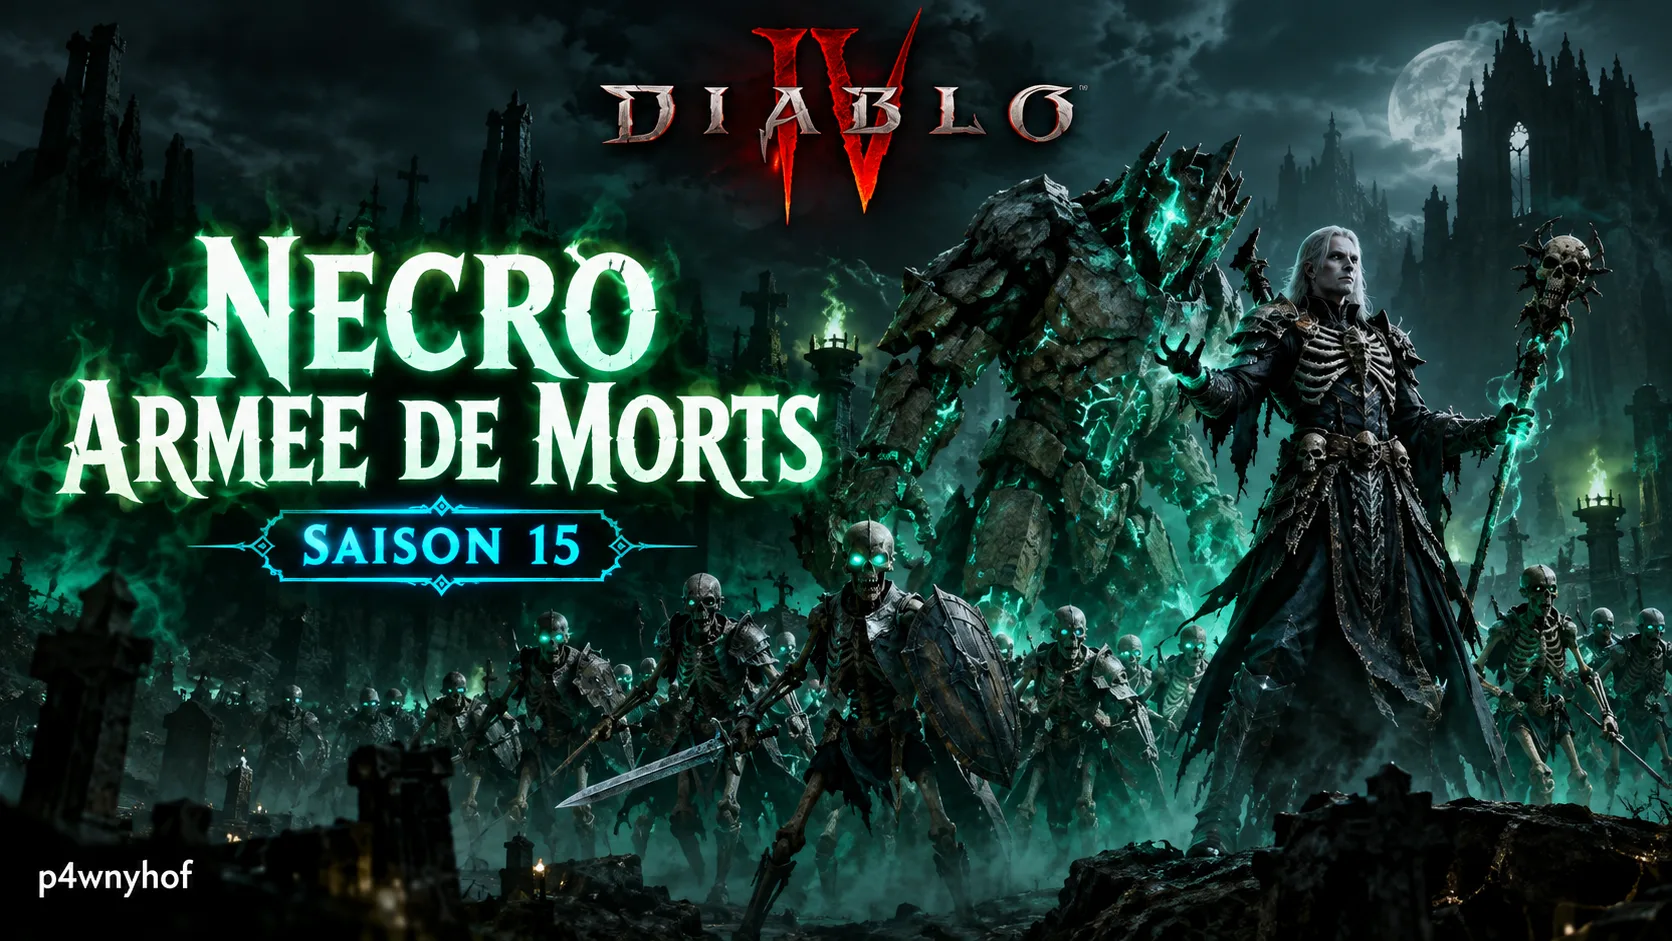
Necromancer Summoner Build Overview — Army of the Dead
This Necromancer summoner hub, put together by p4wnyhof, covers the character's entire progression from level 1 up to the most advanced Pit tiers. The build relies on an army of skeletons and on  Army of the Dead to overwhelm the screen with hits, backed by a massive
  Golem providing constant support. The hub follows a six-step progression: leveling and early game with Army of the Dead, then a stabilized T12 tier, a Golem-focused variant pushing the Pit up to level 120, a full summoner variant capable of going even further, and finally a DOT Spirit variant built around damage over time with
  Bone Spirit. This guide is aimed both at players leveling their very first Necromancer and at those looking to push the highest Pit tiers at the end of the season.
Pros and Cons
✅ Pros
- A complete hub covering the entire progression, from level 1 up to the highest Pit tiers
- An army of skeletons and a massive Golem that soak up most of the damage instead of the player
- Several pushing variants (Golem, full summoner, DOT Spirit) to fit every stage of the game
- A readable screen: damage mostly comes from Army of the Dead and minions, not from an exposed melee burst
❌ Cons
- Demanding management of the Horadric Seal charms, each of which needs the right rank bonus
- A rotation that depends heavily on corpse generation timing, less straightforward than a classic burst build
- A precise set of gear to gather (The Undercrown, Red Blessing, full Horadric Seal set) to unlock the build's full potential
Recommended Equipment
Loot Table
This Necromancer summoner's gear focuses above all on uniques that support the minion army rather than a slot dedicated to raw damage. The The Undercrown helm or the  Crown of Lucion depending on the stage, paired with the
  Blood Moon Breeches and the Pact of Bone ring, further reinforce the constant summoning. The amulet must absolutely be the Red Blessing: it turns every Overpower charge into an extra damage stack, a core mechanic across every variant of the build. At the most advanced tiers, weapons like
  Bloodless Scream or
  The Hand of Naz further boost the critical damage multiplier once the full summoner set is in place.
Horadric Seal S15
This hub's Horadric Seal relies on a set dedicated to summoners, designed to drastically cut down Army of the Dead's cooldown. p4wnyhof's rule is strict: every charm must carry a rank bonus to Minion Skills, Darkness, or Macabre Skills. Without the full set, two pieces are already enough to benefit from the main effect; with a Mythic Seal in hand, the combination goes up to four pieces plus two free charms to further maximize cooldown reduction. This setup is built for a permanent wave-clear playstyle, where Army of the Dead comes back as often as possible rather than being saved for key moments.
Gameplay Tips
The hub's progression follows a marked-out path. The Early Torment variant first stabilizes Army of the Dead through the early Torment tiers, with  Corpse Tendrils grouping enemies together before each volley. Once T12 is under control, the Golem-focused variant pushes the Pit up to level 120, before switching over to the full summoner setup to go even further. Across every one of these stages, the Golem and the skeletons must be kept alive as a priority, since they soak up most of the damage while the player keeps chaining corpse-based waves. The final DOT Spirit tier shifts the whole approach toward damage over time with Bone Spirit — this is the path every summoner Necromancer in the hub follows, from leveling all the way to the highest pushing tiers.
Talent Tree
The talent tree changes noticeably from one hub stage to the next. During leveling and early game, investment focuses on minions (Skeleton Mage, Skeleton Warrior) and on Golem, rounded out with  Decrepify and
  Iron Maiden for crowd control. From the Golem Pit115+ tier onward,
  Bone Storm and
  Blight reinforce both survivability and area damage, a base that stays identical on the Full Summoner variant. The DOT Spirit variant changes its main active skills:
  Bone Prison and Bone Spirit become the tree's anchor points, with Bone Storm pushed to its maximum rank to sustain damage over time.
Mercenary S15
Across most of the hub's stages, Subo is fielded as the main mercenary. He rounds out the minion army by adding an extra source of damage and crowd control while the Necromancer focuses on corpse generation and keeping Army of the Dead up.
Raheir steps in as reinforcement on several variants, especially once survivability becomes the priority at the most advanced pushing tiers, such as the Golem variant or the full summoner setup.
Paragon
This hub's Paragon plan is built around five boards. The starting board pushes the  Corporeal glyph up to rank 150 to maximize raw survivability, before moving on to boards dedicated to strengthening minions and resistance. This base stays consistent across every advanced hub stage, from the Golem tier all the way to the DOT Spirit variant, where it keeps supporting both the skeleton army and Bone Spirit's damage over time.
📖 Retrouvez tous les builds Diablo 4 Saison 12 : Voir tous les builds D4 →







2 Commentaires
Bonjour ,je n’arrive pas a voir les amelioration a apporter sur le tome de necromantie .
Cerais t’il possible de prescisé les amelioration a apporte au invocations .
Salut Galaad, le Livre des Morts est bien configuré pour ce build, mais il s’affiche dans le module Grille d’équipement à droite de l’article, pas dans le texte, du coup c’est facile de passer à côté. Les choix de p4wnyhof (vérifiés sur sa source à jour) : – Guerriers squelettes : Faucheurs, 1ère amélioration (leurs attaques chargées réduisent un temps de recharge de 3s et créent un cadavre, parfait pour nourrir Armée de morts) – Mages squelettes : Givre, 2ème amélioration (ils lancent un blizzard qui gèle et rend Vulnérable) – Golem : Golem de fer, 1ère amélioration (son attaque envoie une onde de choc qui touche aussi les ennemis derrière) En toute transparence : notre grille montre encore les invocations d’une version un peu plus ancienne du build (le créateur l’a retouché depuis), on va la rafraîchir. Fie-toi aux trois choix ci-dessus, ce sont les bons du moment. Éclate-toi avec ton armée ! 🦴