
ENDGAME | PIT PUSH | SPEED FARM PALADIN
Build Overview
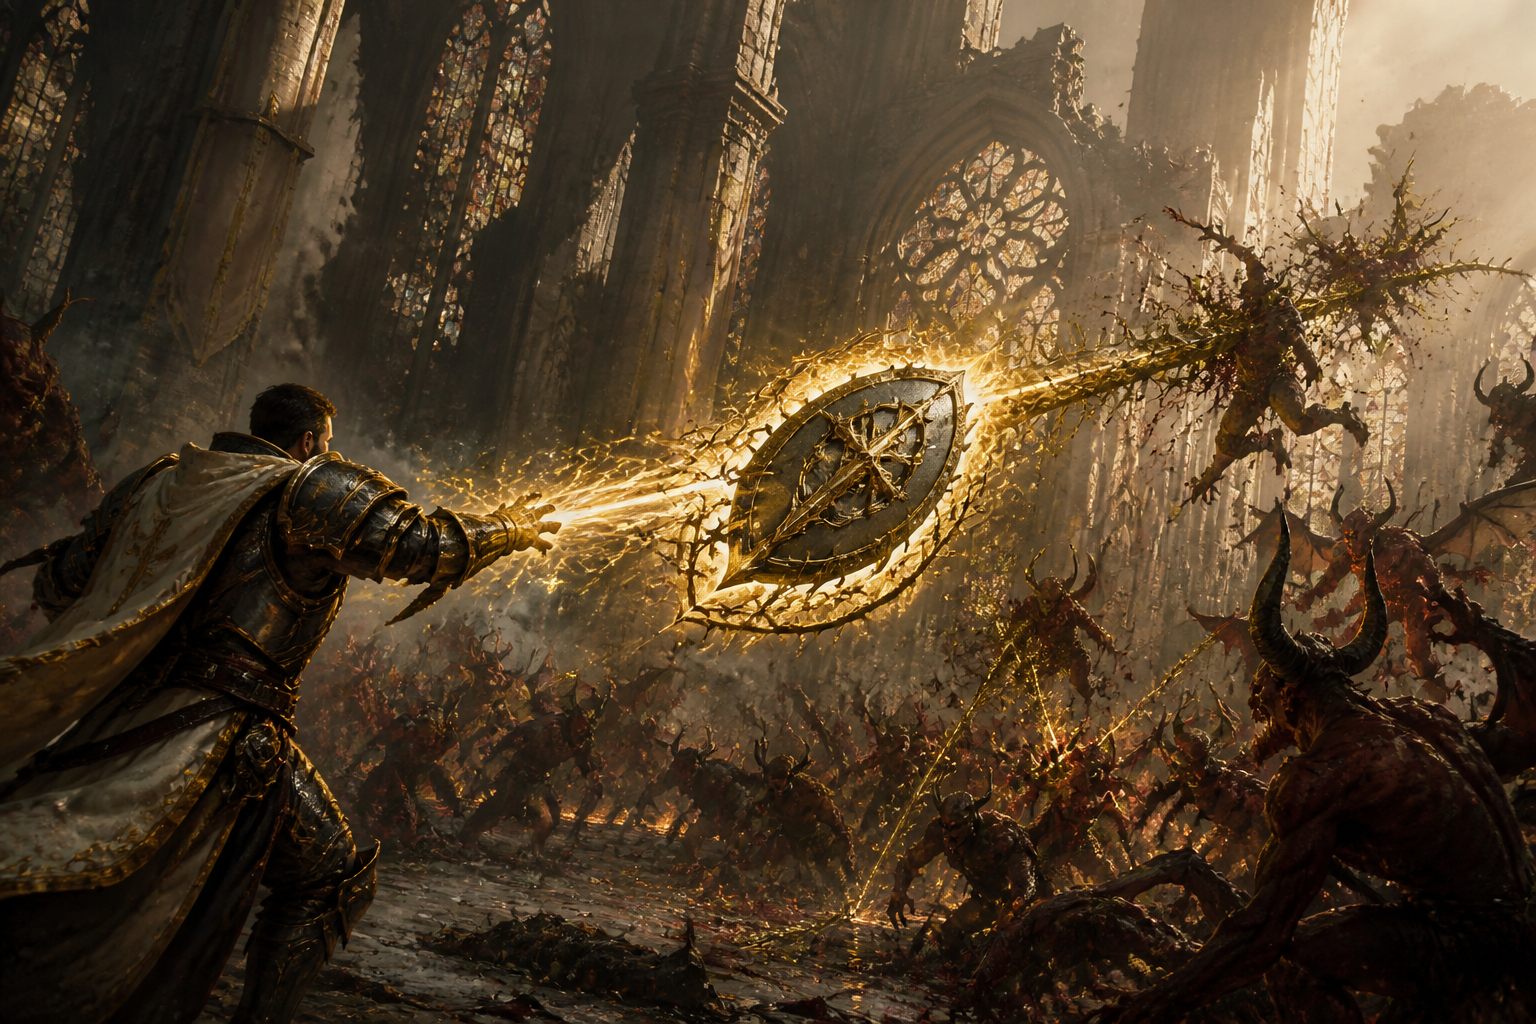
This Shield of Retribution Paladin Build is the archetypal  Juggernaut Paladin built around Thorns: a holy warrior who turns every blow taken into a massive AoE explosion. The core of the build relies on the
  Shield of Retribution upgrade applied to
  Blessed Shield, which converts the skill into a Juggernaut ability. You unlock full access to Juggernaut and Resolve scaling, with damage that pulverizes everything in a short radius.
The central idea: stay in melee range, soak up hits, and let Blessed Shield ricochet between enemies to maximize Thorns damage.  Defiance Aura and
  Clash stack Thorns multipliers, while
  Fanaticism Aura applies Weaken and provides the build's critical Fortify source. Once
  Ward of the White Dove is in hand, you switch to the full Endgame rotation: 3 casts of Blessed Shield interleaved with other skills to maintain the buff.
This build performs at every progression stage: already strong in Starter on pure legendaries, it becomes a pack destroyer and capable Boss killer once Mythics drop.  Heir of Perdition solves the Critical Strike Chance issue,
  Mantle of the Grey brings a massive damage multiplier, and
  Godslayer Crown centralizes packs for devastating area-of-effect damage. Build by Hysteria.
Pros and Cons
Pros
- Excellent area-of-effect — packs destroyed in a few casts
- Formidable Boss killer once Mythics are equipped
- Strong at every stage (Starter, Midgame, Endgame)
- Highly scalable Thorns, Juggernaut and Resolve synergies
- Tactical, engaging gameplay — no simple spam
Cons
- Short range — you must stay in melee
- Limited survivability outside the
 Fortress window
 - Immobile during the damage phase
Recommended Equipment
Loot Table
Ward of the White Dove is the piece that unlocks the true Endgame rotation: a massive multiplier on Blessed Shield and a reduced Faith cost. The golden rule is to maintain the buff by interleaving another skill after every triplet of casts — Evade also counts as a skill to reset the timer.
Mantle of the Grey offers a major damage boost in a normally defensive slot, with the bonus of an increased skill size that directly amplifies the area of effect. Heir of Perdition brings the indispensable Critical Strike Chance — reaching 100% is very hard otherwise. Ring of Starless Skies is not optimal here (Core skill ranks do NOT boost Shield of Retribution), but it remains usable in Midgame to temporarily solve Critical or Faith issues.
For legendaries,  Aspect of Chastisement on the weapon and
  Aspect of Redirected Force on the gloves form the offensive backbone, supported by
  Aspect of Lapa's Scripture on the amulet and the
  Aspect of the Umbral +
  Aspect of the Juggernaut's Covenant duo on the rings. The boots with
  Aspect of Dominance let you instantly cap the of Determination meter while standing inside the Fortress zone.
For Tempering, target the Greater Affixes Strength and Physical Damage on gloves and amulet, accompanied by Critical Strike Damage and Damage to Vulnerable. Defensive pieces prioritize Maximum Resolve (direct interaction with Fortress buffs) and Thorns, which remains the build's foundational stat.
Horadric Seal S13
The Talisman exploits the Berú of Righteous Will set — four charms from the set (Berú of Righteous Will, Linta of Righteous Will, Fer of Righteous Will, Mlor of Righteous Will) accompanied by Godslayer Crown as the fifth charm and the unique charm Oath. The chosen seal is Seal of the Diamond Mind.
The mechanical centerpiece is the Godslayer Crown charm, which pulls enemies toward you for instant grouping — a perfect synergy with the short range of Shield of Retribution. It also opens the way for Aspect of Dominance to cap Resolve, and Aspect of the Umbral for Faith generation.
Gameplay Tips
The ideal rotation starts with Clash to activate  Punishment — this strike generates Resolve and activates the unique affix on Ward of the White Dove. Then chain three casts of Blessed Shield while staying close to maximize damage, and interleave another skill (any one, Evade included) to preserve the buff.
Fanaticism Aura systematically applies Weaken to enemies. Note: this aura currently has a special behavior that grants Fortify when cast on targets — it is the build's only Fortify source, to use deliberately.  Aegis helps stay block-capped while increasing Thorns damage, and Defiance Aura activates Unstoppable as soon as you suffer a crowd control effect.
Fortress with the  Resolve Damage Bonus upgrade is your elite window. Drop the zone, stand inside, and the Maximum Resolve from your Tempering converts into a massive multiplier. Activate Free Cast to use skills without spending resources during the window.
Talent Tree
Mercenary S13
The hired mercenary is Raheir, who provides a complete defensive kit through  Aspect of Valiance,
  Raheir's Aegis and
  Bastion. He also offers a notable offensive boost thanks to his passive
  Inspiration, which increases your damage while you hold the line.
The reinforcement Aldkin rounds out the picture by reducing enemy incoming damage and slowing them via  Field of Languish. The Raheir + Aldkin combo protects your damage window, perfectly compensating for the build's short range and the immobility during Blessed Shield rotations.
Paragon
The Glyph progression order prioritizes survivability early in Paragon. Hit minimum requirements first rather than maxing a single Glyph, and come back later to fill them out when you have spare points.
The recommended order is  Revenge,
  Spirit,
  Outmatch,
  Sentinel, then
  Chip. The Endgame boards used are Start, Relentless, Castle, Shield Bearer and Beacon, totaling 250 points invested for 5 Glyphs at rank 150.
Detailed Rotation and Maintaining the Dove Buff
Timing is critical: Ward of the White Dove requires casting a non-Blessed Shield ability every 3 casts to maintain the multiplier. Since Evade counts as a skill, you can use the side-dash to reposition without breaking the rotation. The typical sequence is: Clash → 3× Blessed Shield → Aegis or Evade → 3× Blessed Shield → Fanaticism Aura or Defiance Aura reapplied → 3× Blessed Shield, and so on. Auras can be re-activated at no cost during the Free Cast window.
Block Cap and Maximum Resolve
Two caps to target: 100% Block Chance (essential to the build's Juggernaut identity) and the maximum of Determination tier. Aegis is your safety net for the Block cap and provides a Thorns multiplier for its duration. On the Resolve side, the Maximum Resolve Tempering on defensive pieces directly interacts with Aspect of Dominance and Fortress — stand in the zone and the meter caps instantly, triggering the associated damage multiplier.
📖 Retrouvez tous les builds Diablo 4 Saison 12 : Voir tous les builds D4 →









3 Commentaires
bonjour certaine trempes ne sont pas en français
Salut kelben, encore merci pour le signalement — toujours aussi attentif sur les builds Paladin ! 👏 Tu avais raison, deux trempes étaient restées en anglais : « Special Type Aura Paladin Potency Defiance » et « Resolve Stacks ». Je les ai mises à jour en « Puissance d’Aura : Défi » et « Charges de Résolution » (Resolve = Résolution, comme la ressource du Paladin). J’en ai profité pour corriger aussi « Critical Strike Chance » qui traînait dans le tooltip de la trempe correspondante. C’est en ligne, un petit Ctrl+F5 et tu devrais tout voir en français maintenant. Comme toujours, ta vigilance fait gagner du temps à toute la commu — je rajoute un cœur pour la contribution 💛
@Kami merci beaucoup c’est avec grand plaisir.